
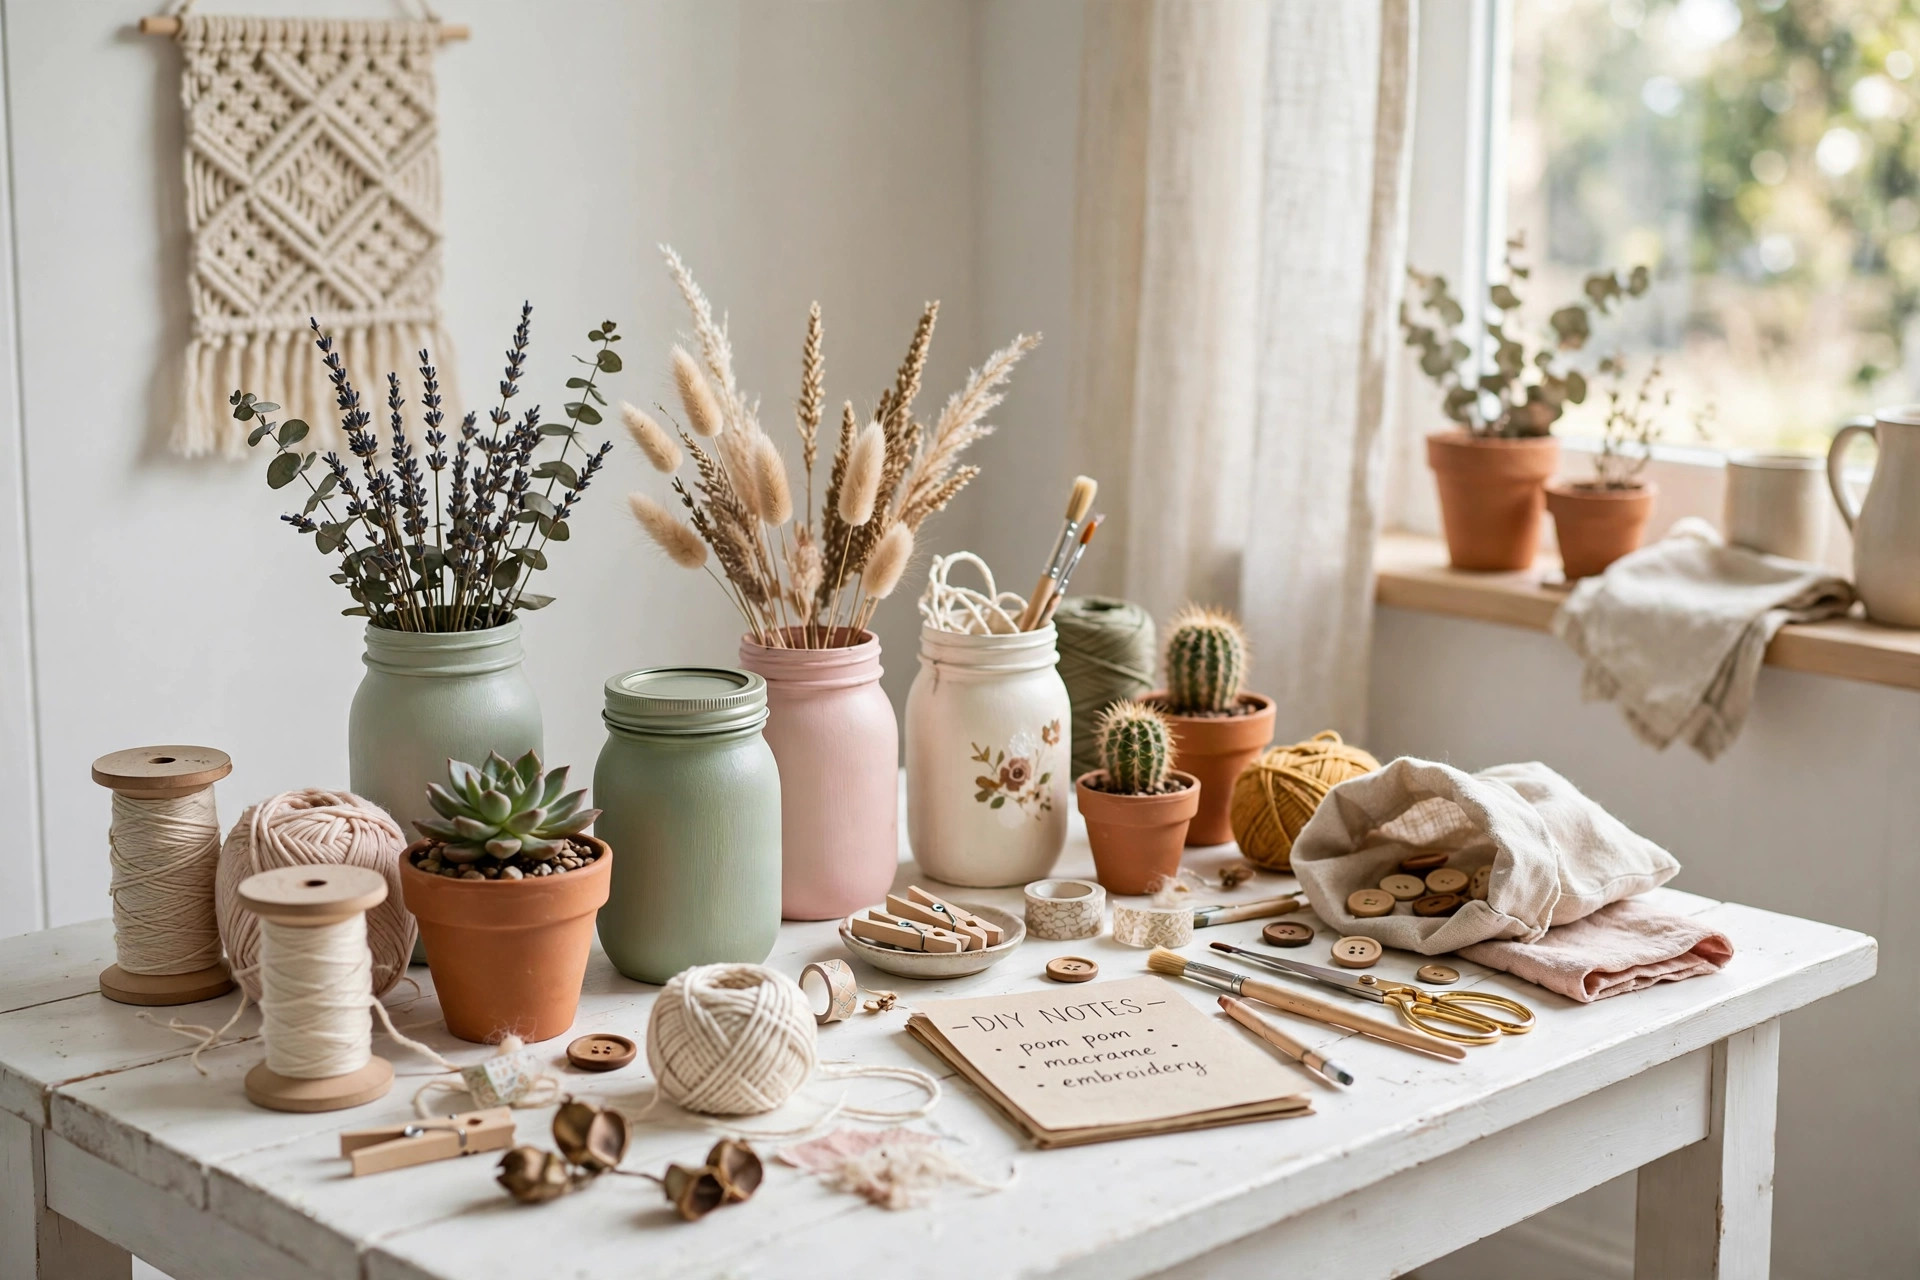
15 Easy DIY Home Decor Projects for Beginners
You don’t need a big budget or a toolbox full of fancy equipment to make your home look amazing. All it takes is a free afternoon, a few basic supplies, and the willingness to try something new. These easy DIY home decor projects are designed for total beginners — each one uses inexpensive materials, simple techniques, and tools you probably already own. Most can be finished in an afternoon, so you’ll see results fast. Whether you’re decorating your first apartment or just looking for a fun weekend project, these fifteen ideas will help you create a home that feels personal, warm, and completely yours.
1. Painted Mason Jar Vases
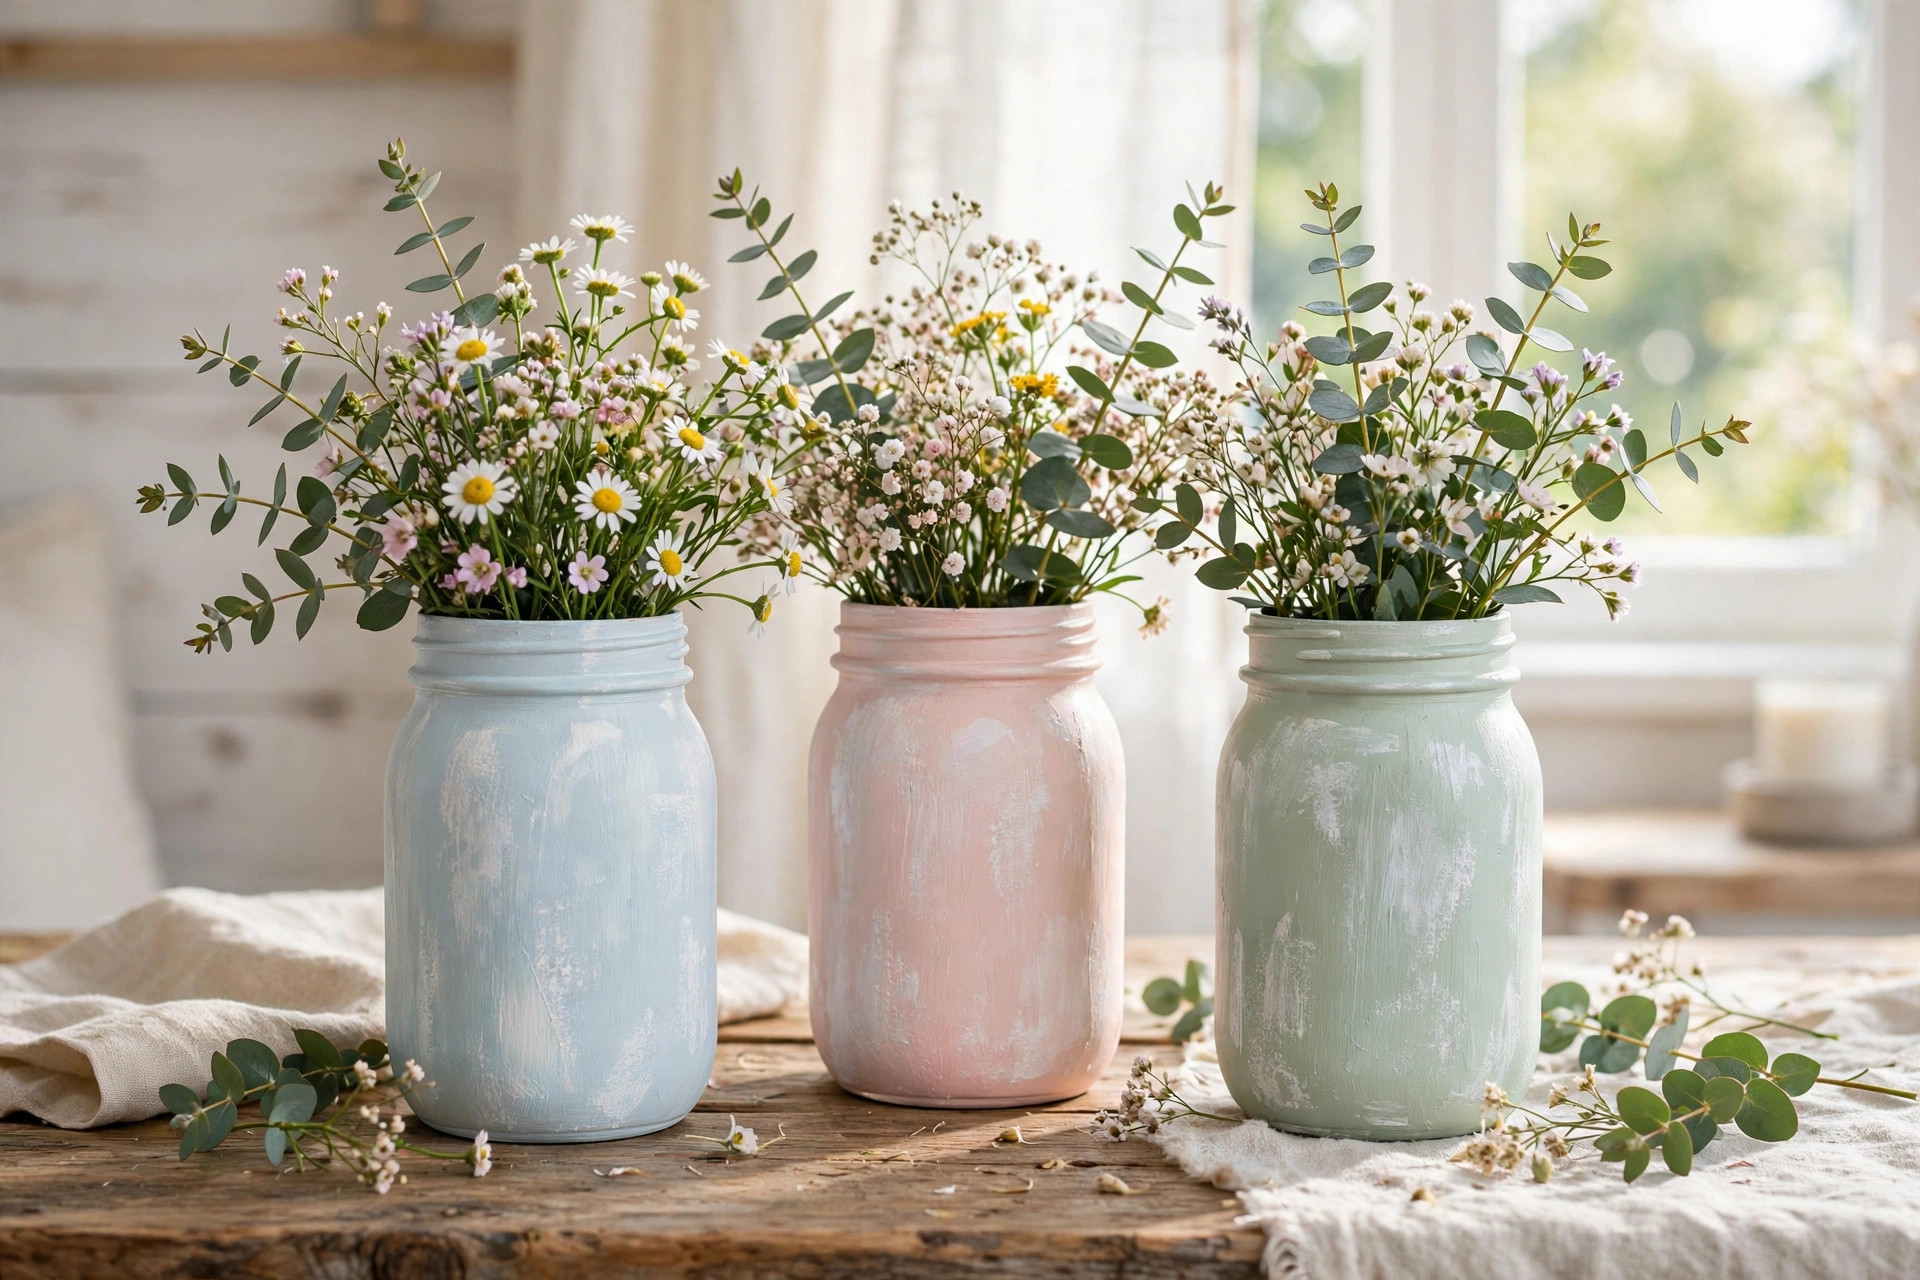
Grab a few glass mason jars and give them a whole new look with a coat of chalk or acrylic paint. Simply clean the jars, apply two thin coats of paint, and let them dry between layers. Once dry, distress the edges lightly with sandpaper for a rustic farmhouse feel, or leave them glossy for a modern touch. Fill them with fresh flowers, dried stems, or fairy lights for an instant charm upgrade.
2. Woven Wall Hanging from a Wooden Dowel
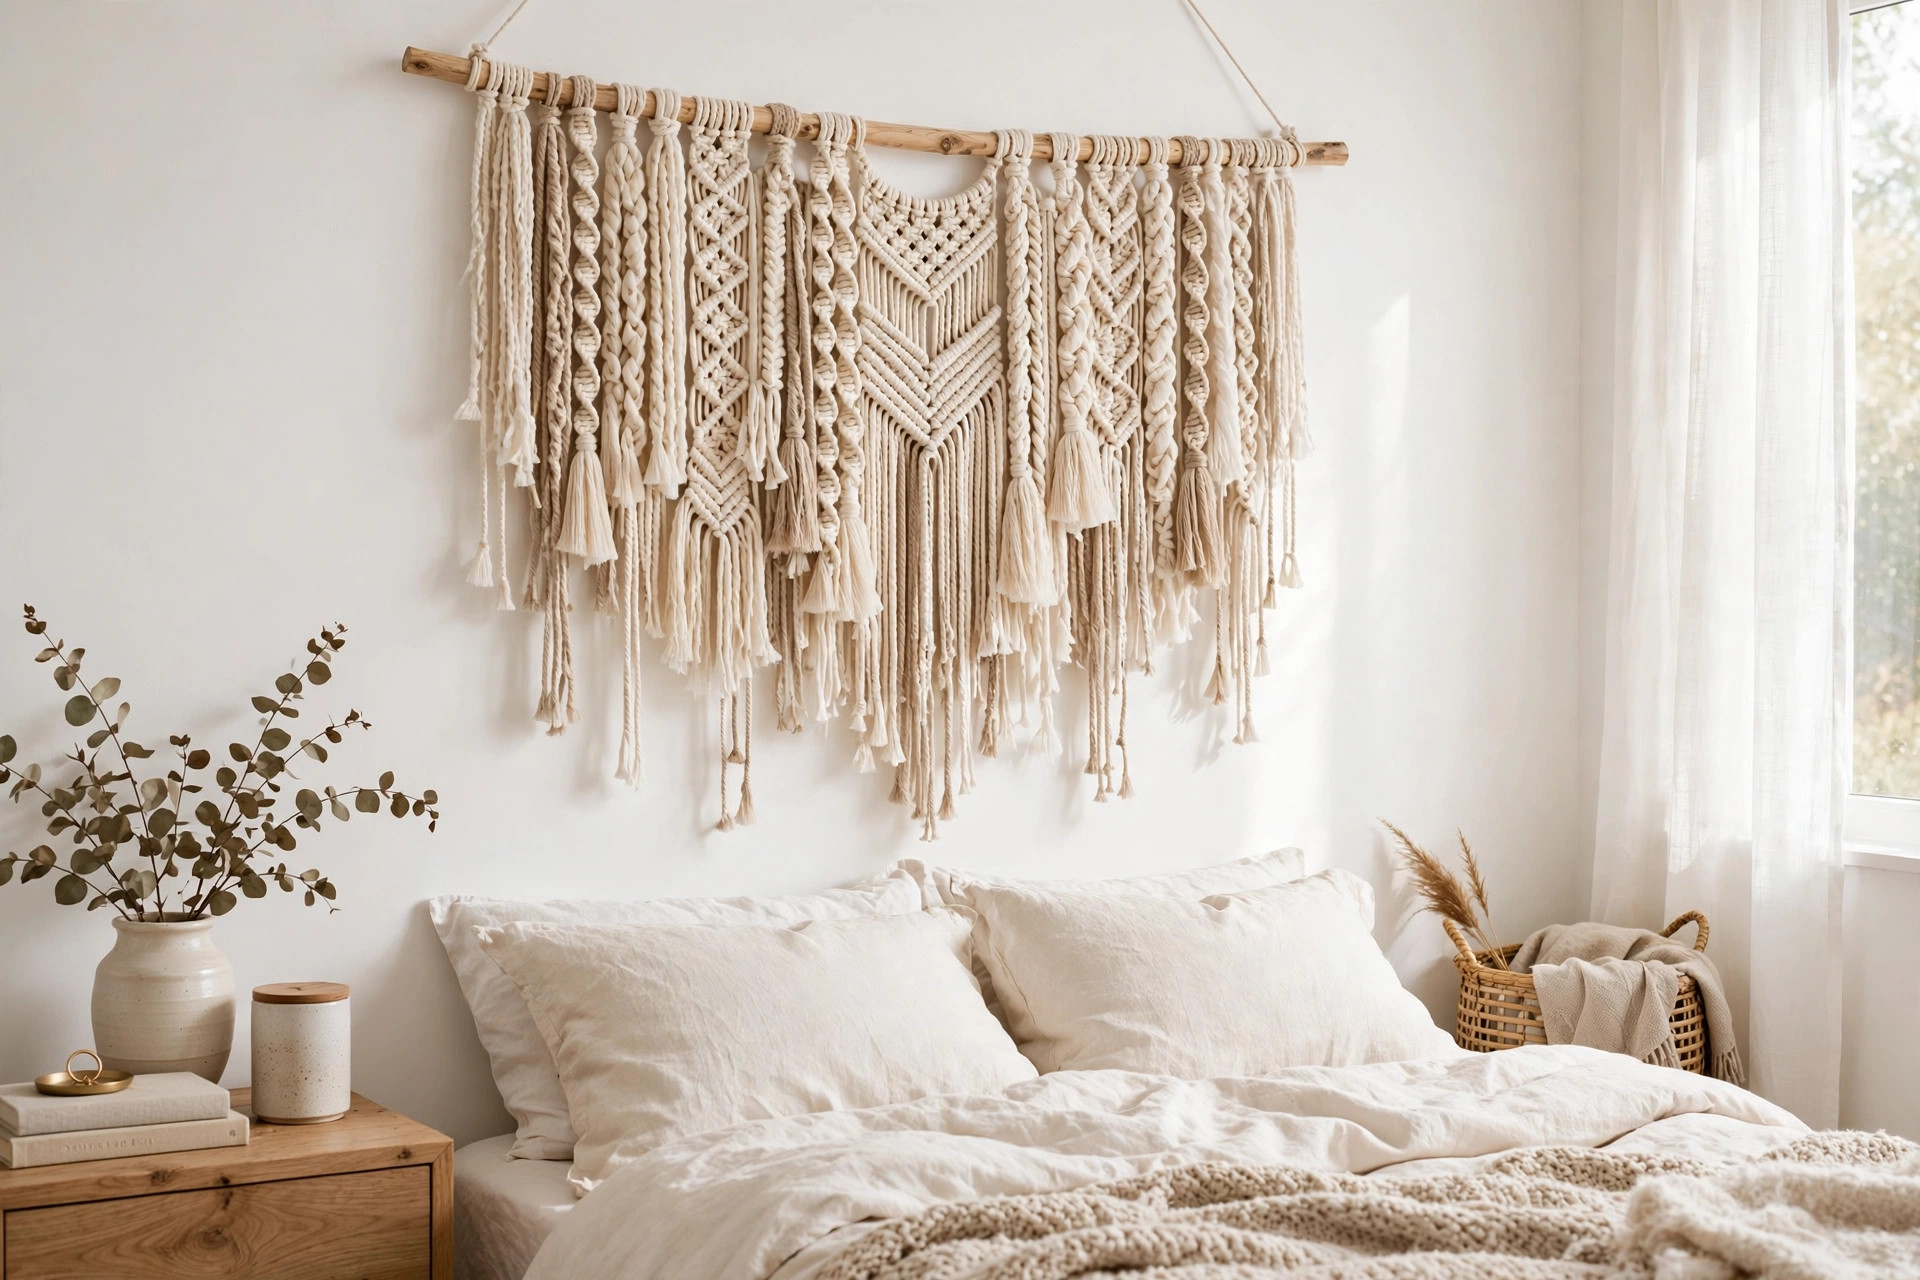
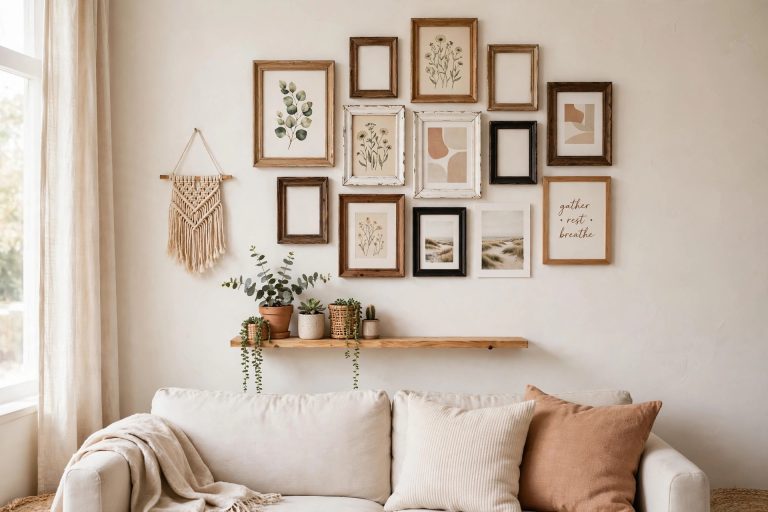
A simple dowel rod, some cotton yarn, and a pair of scissors are all you need for this boho favorite. Cut yarn strands to different lengths, fold them over the dowel, and pull the ends through the loop to secure them. Trim the bottom into a V or straight edge, and play with color blocking or braiding for texture. Hang it in a bedroom or entryway for a soft, handmade focal point.
3. Stenciled Throw Pillows
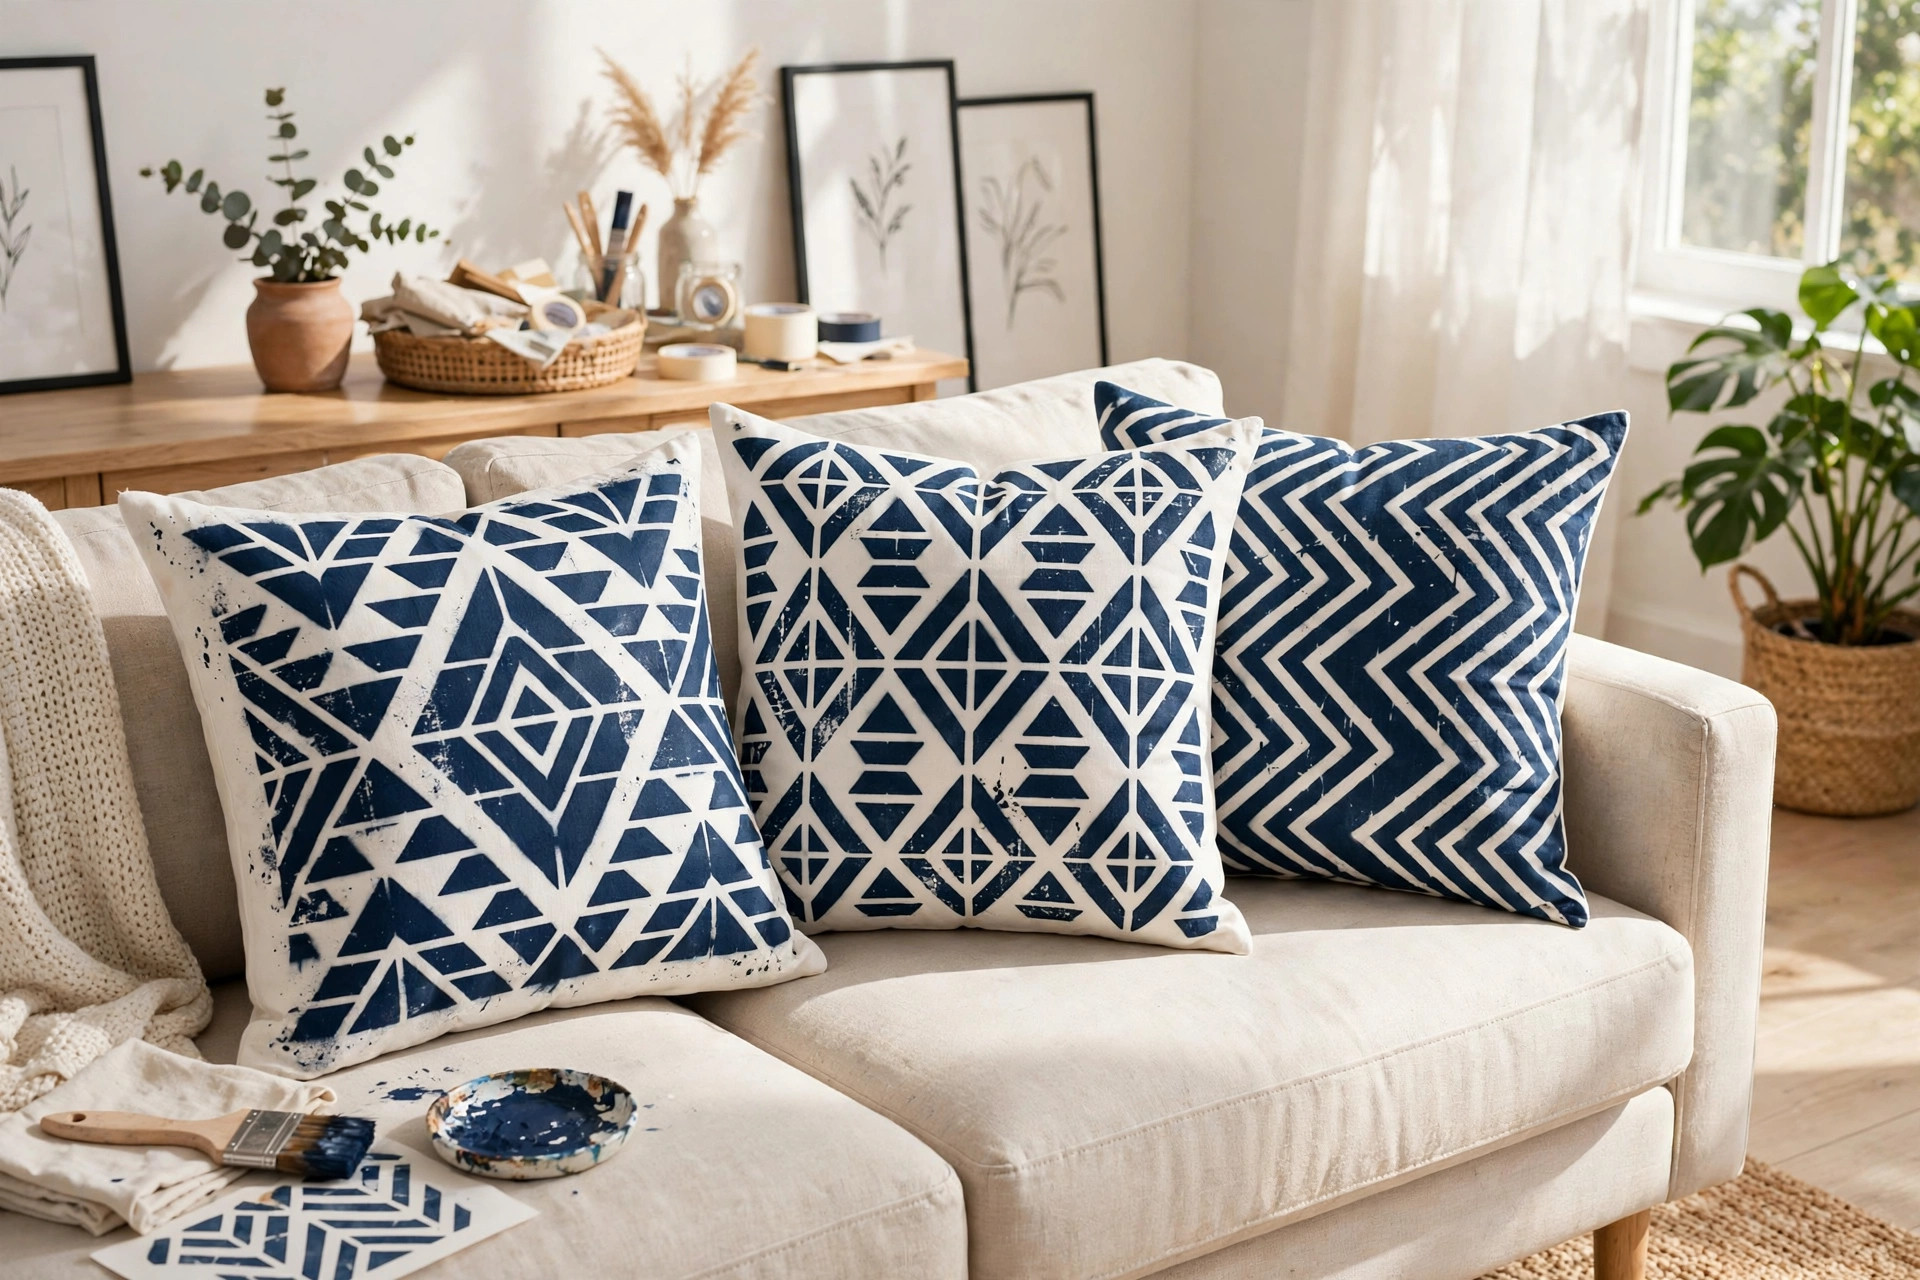
Plain pillow covers become designer pieces with a stencil and a little fabric paint. Tape your stencil onto the cover, dab paint on with a foam brush, and lift the stencil carefully to reveal a crisp pattern. Choose geometric shapes for a modern look or botanical motifs for something softer. Two coats of paint give the most even coverage. It’s a weekend-afternoon project that refreshes a whole sofa.
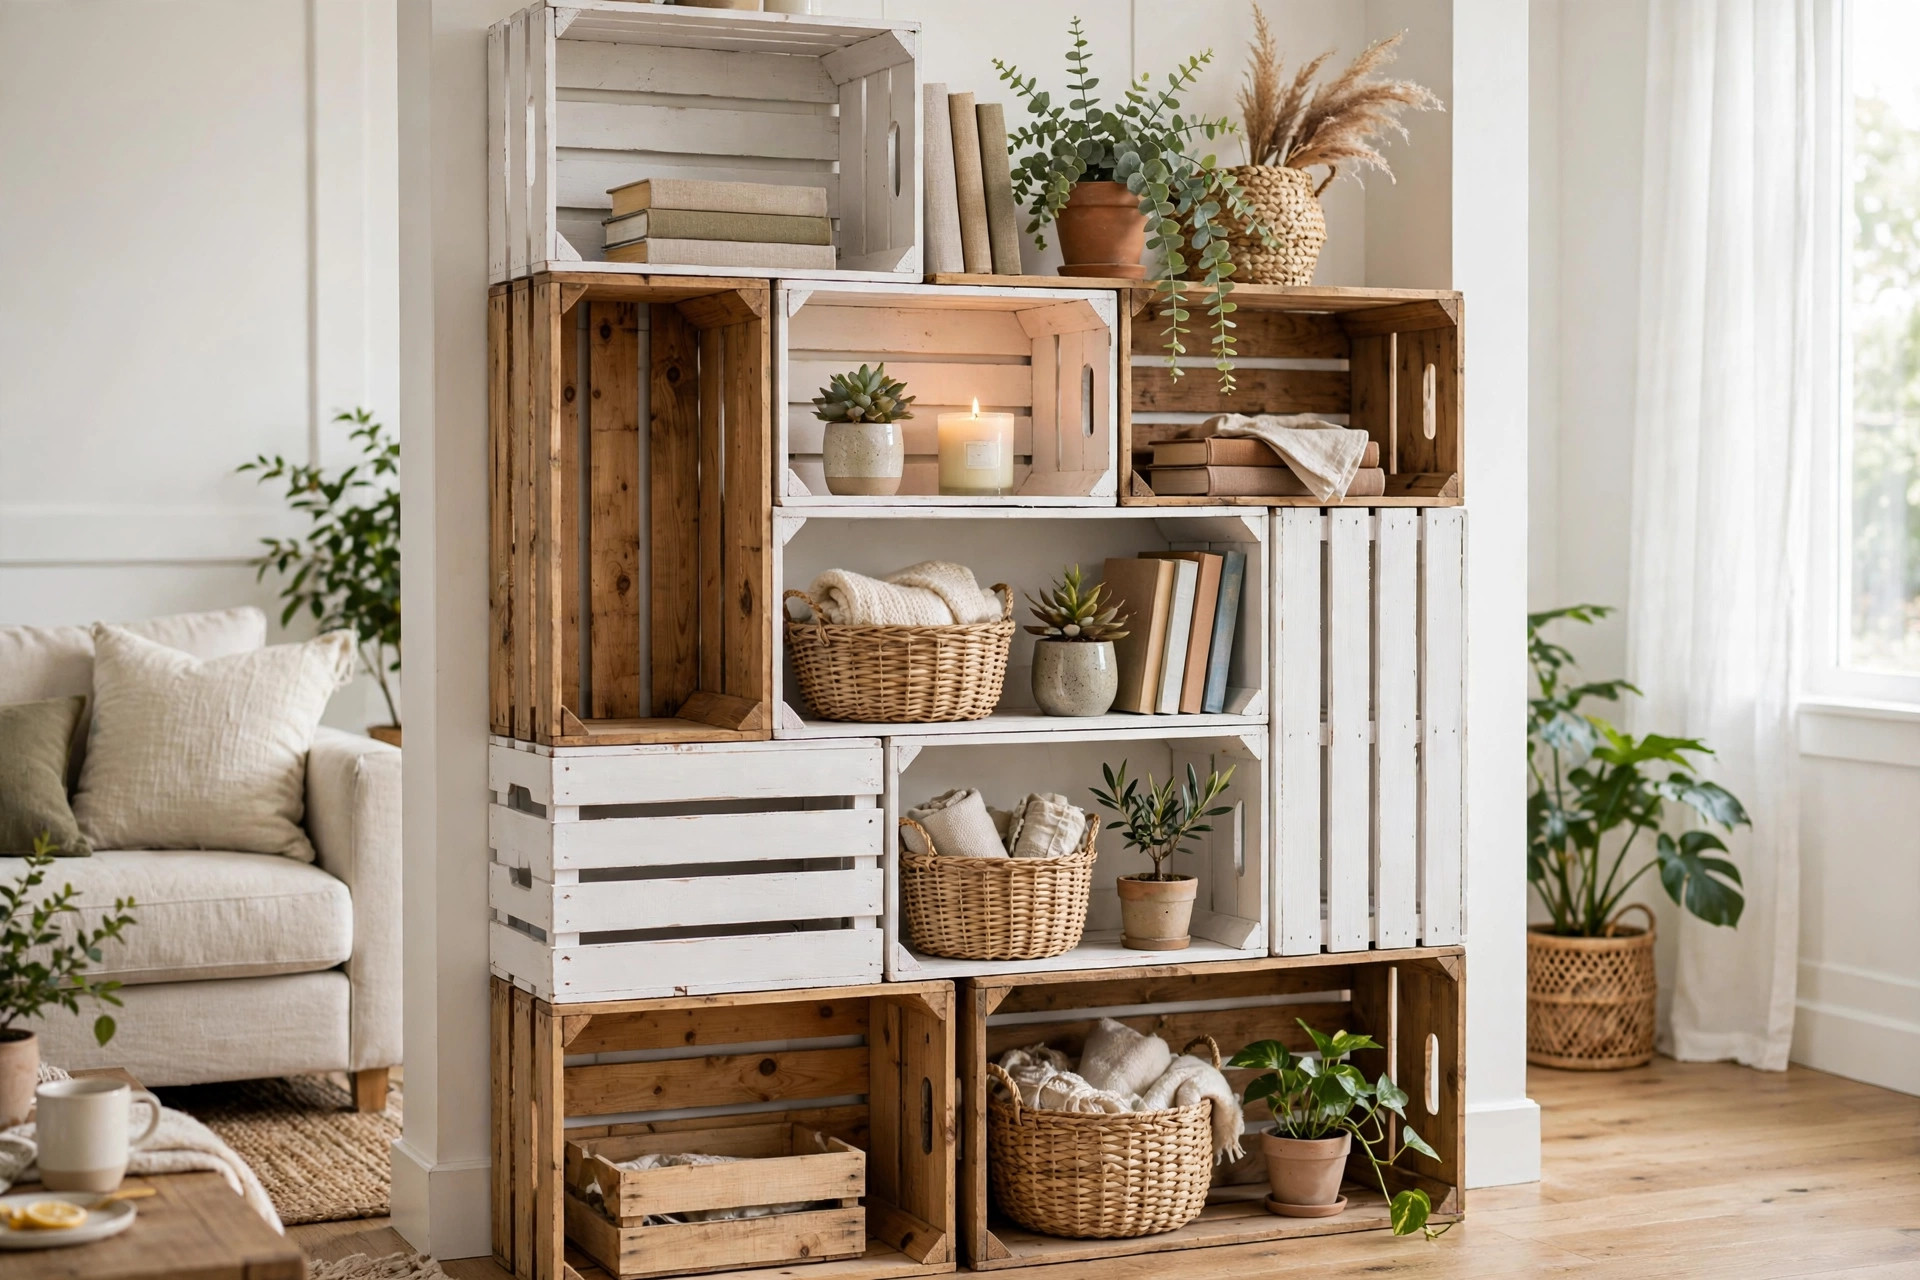
4. Wooden Crate Storage Shelf
Stackable wooden crates are a beginner’s best friend when it comes to rustic shelving. Sand the crates lightly, stain or paint them in your favorite color, and stack them in a pyramid or side-by-side arrangement. Secure the crates together with small screws or brackets for stability. Use them to display books, plants, or baskets in a living room or hallway.
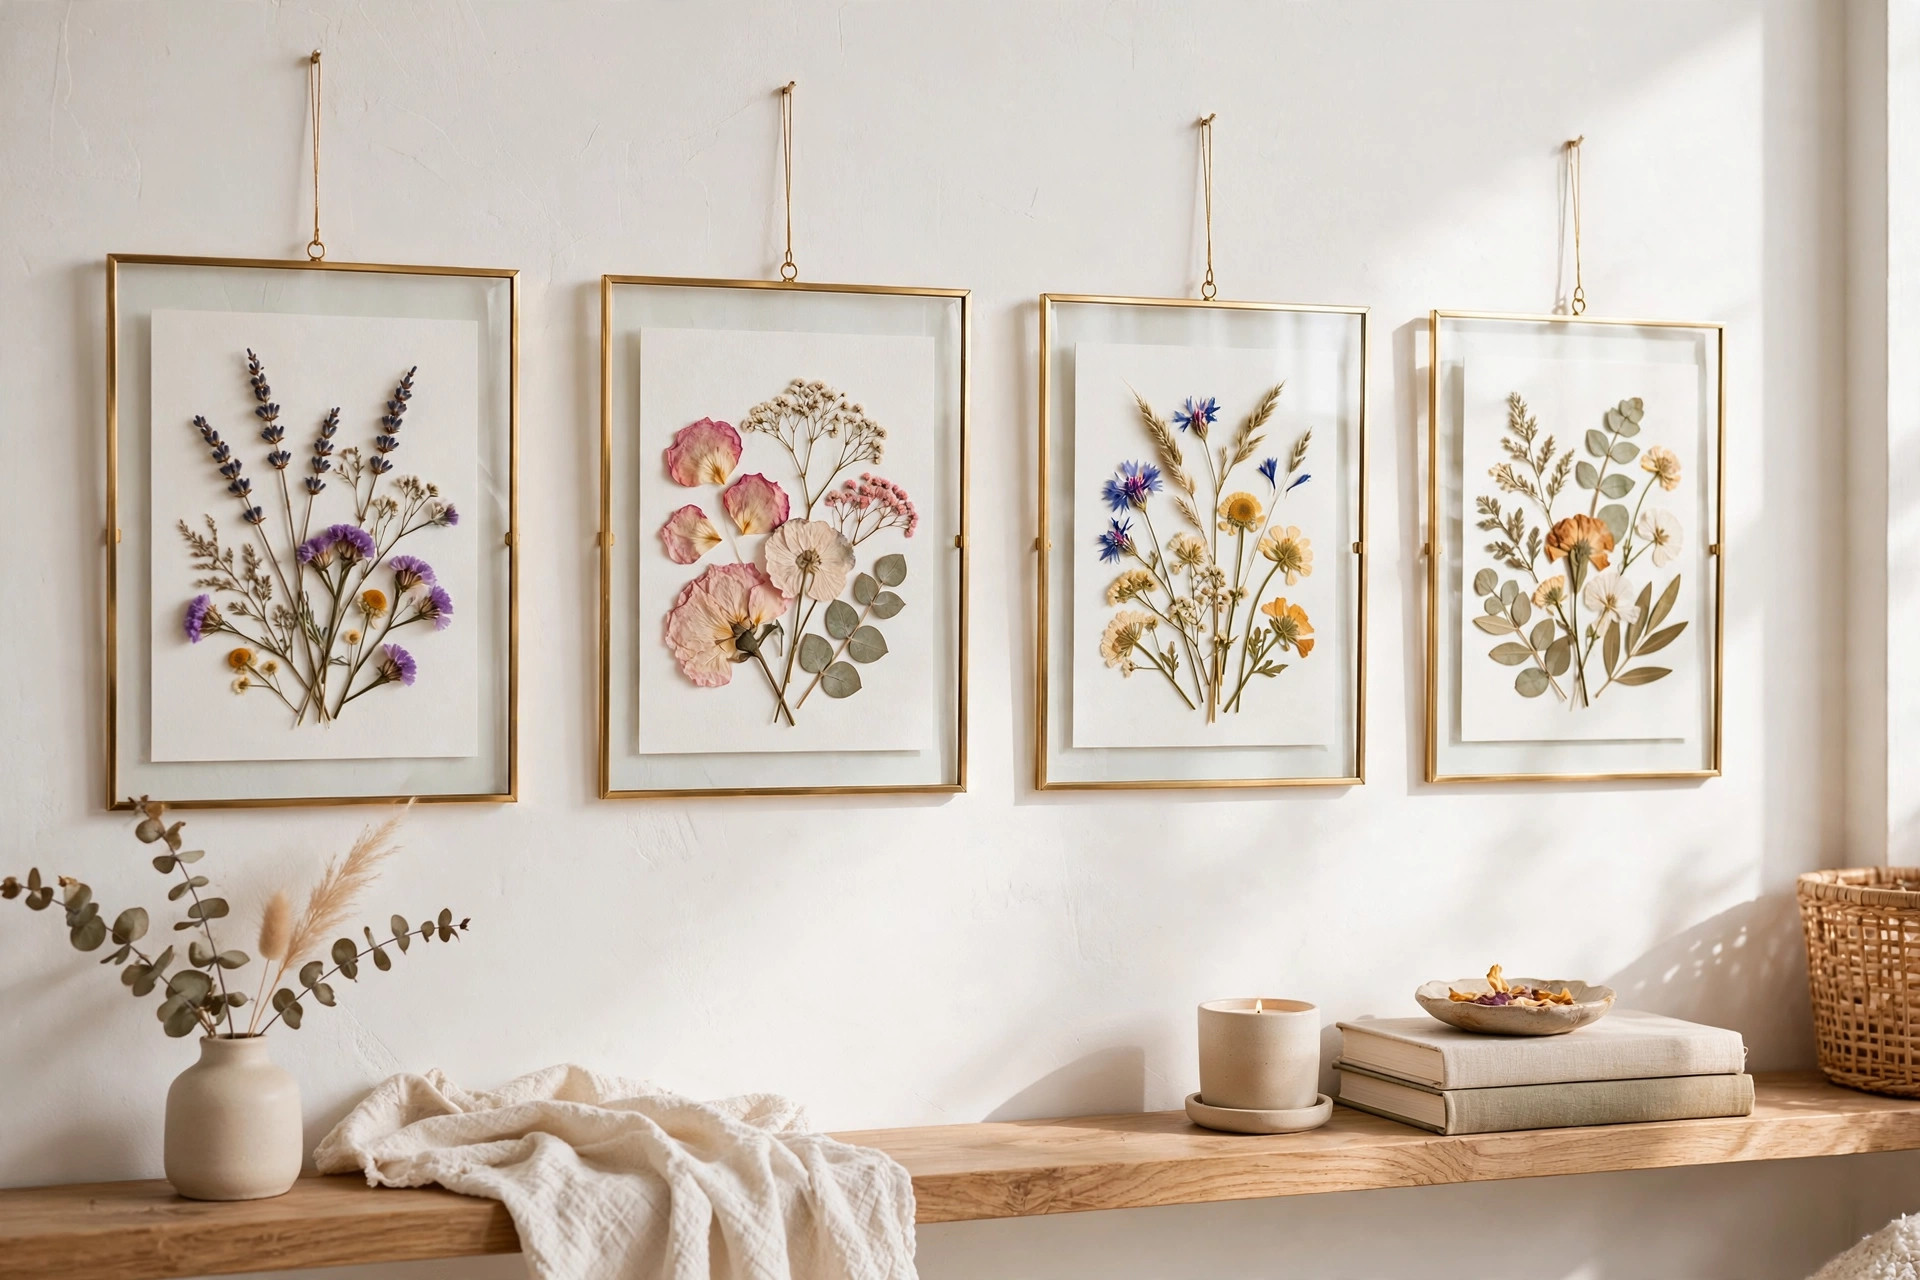
5. Pressed Flower Wall Art
Turn flowers from your garden into delicate wall art with a picture frame and a heavy book. Press blooms between parchment paper for one to two weeks until completely flat and dry. Arrange the dried flowers on white or neutral cardstock, secure them with a dab of craft glue, and frame the design under glass. The result is elegant, personal art that costs almost nothing.
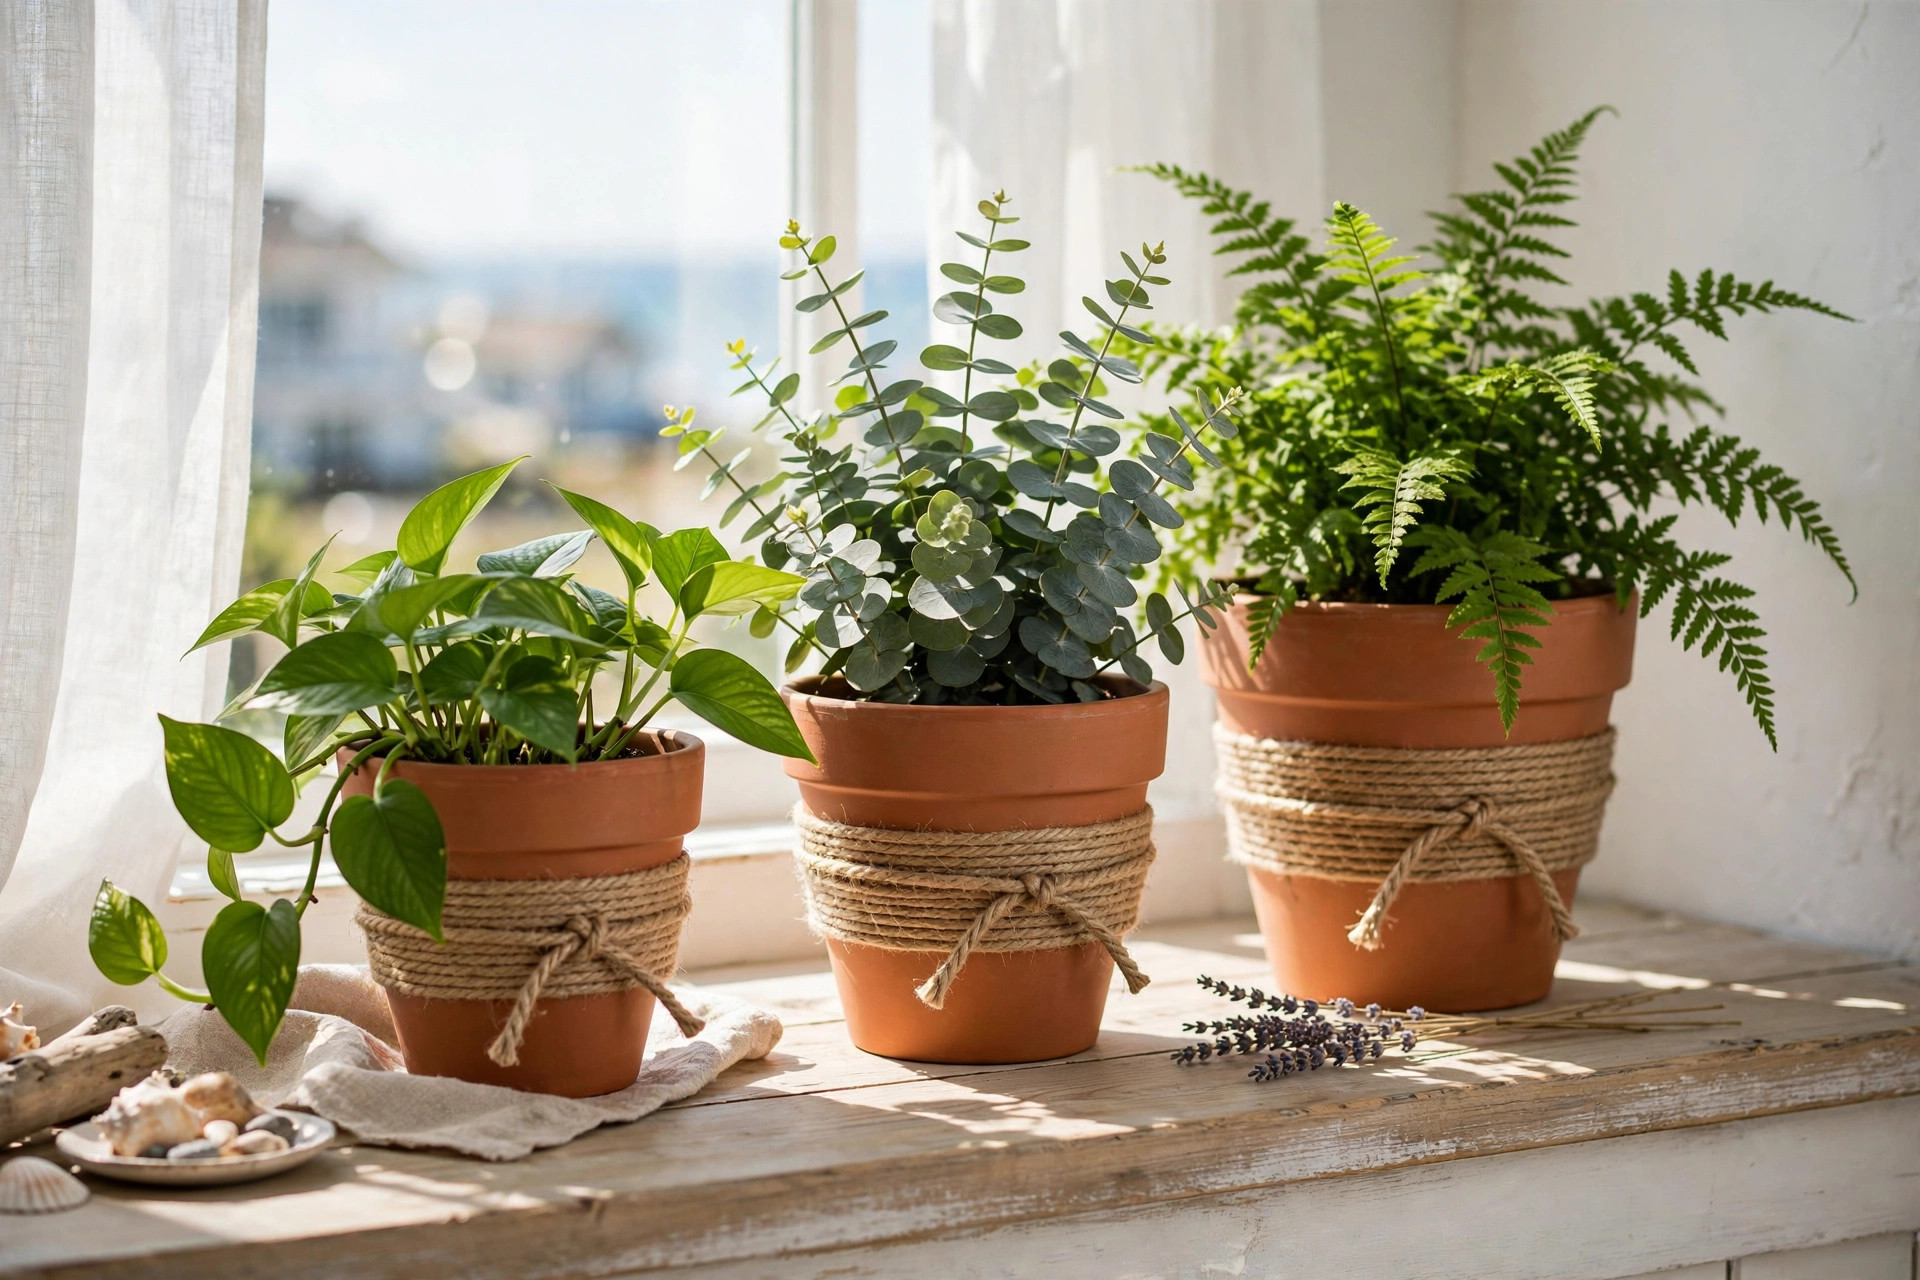
6. Rope-Wrapped Plant Pots
Give plain terracotta pots a coastal makeover with jute rope and a hot glue gun. Starting at the base, run a line of hot glue and press the rope into it, wrapping tightly as you move upward. Continue until the whole pot is covered, trimming the end neatly at the top. Pop a leafy green plant inside for a breezy, natural look.
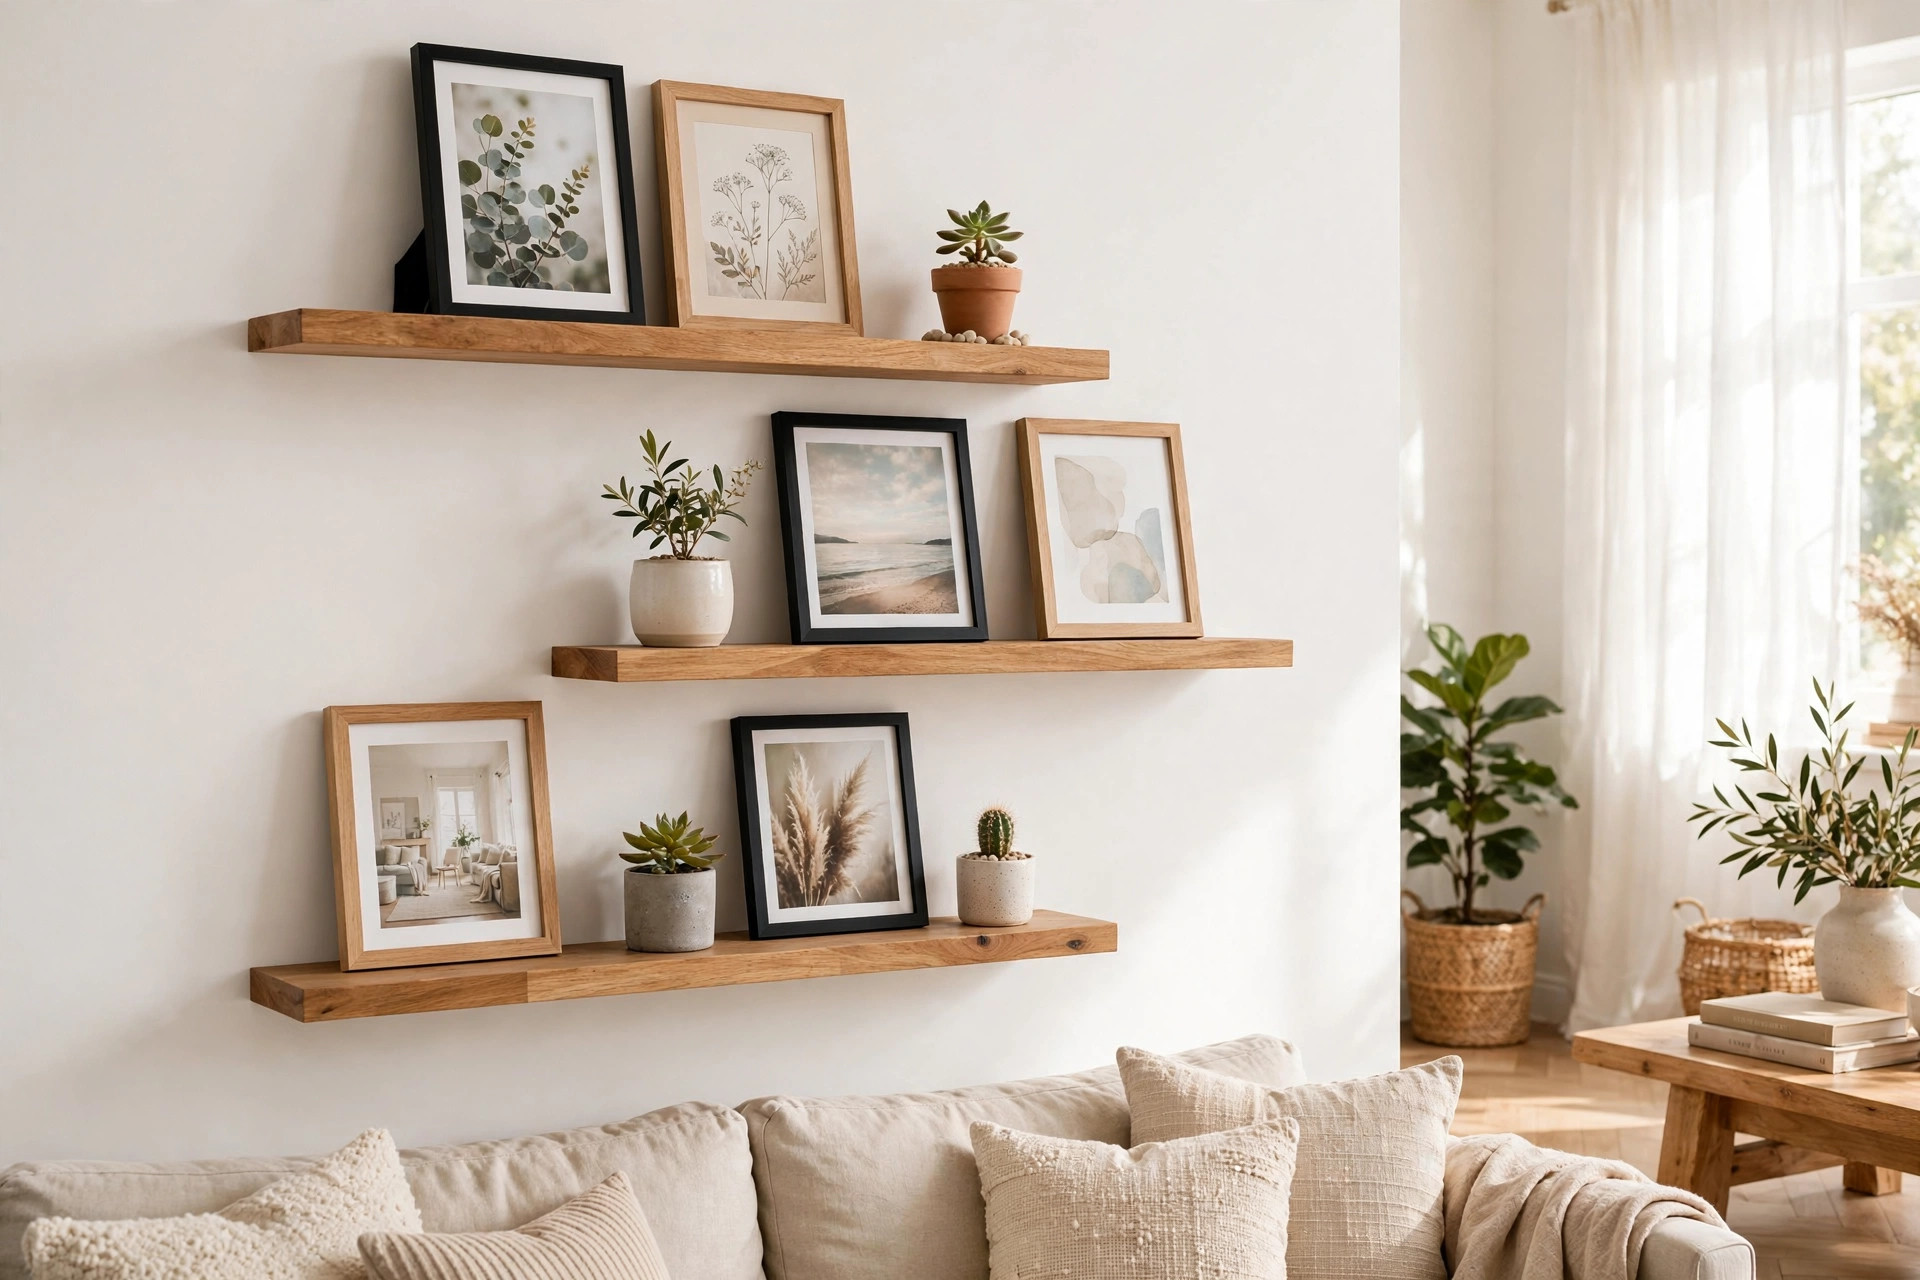
7. Floating Photo Ledge Gallery
A couple of simple wooden boards can turn a blank wall into a gallery you can rearrange anytime. Cut the boards to your desired length, stain or paint them, and mount them with brackets at eye level. Lean framed photos, small art prints, and mini plants against the wall on the ledges. The best part? You can swap the display in minutes whenever the mood strikes.
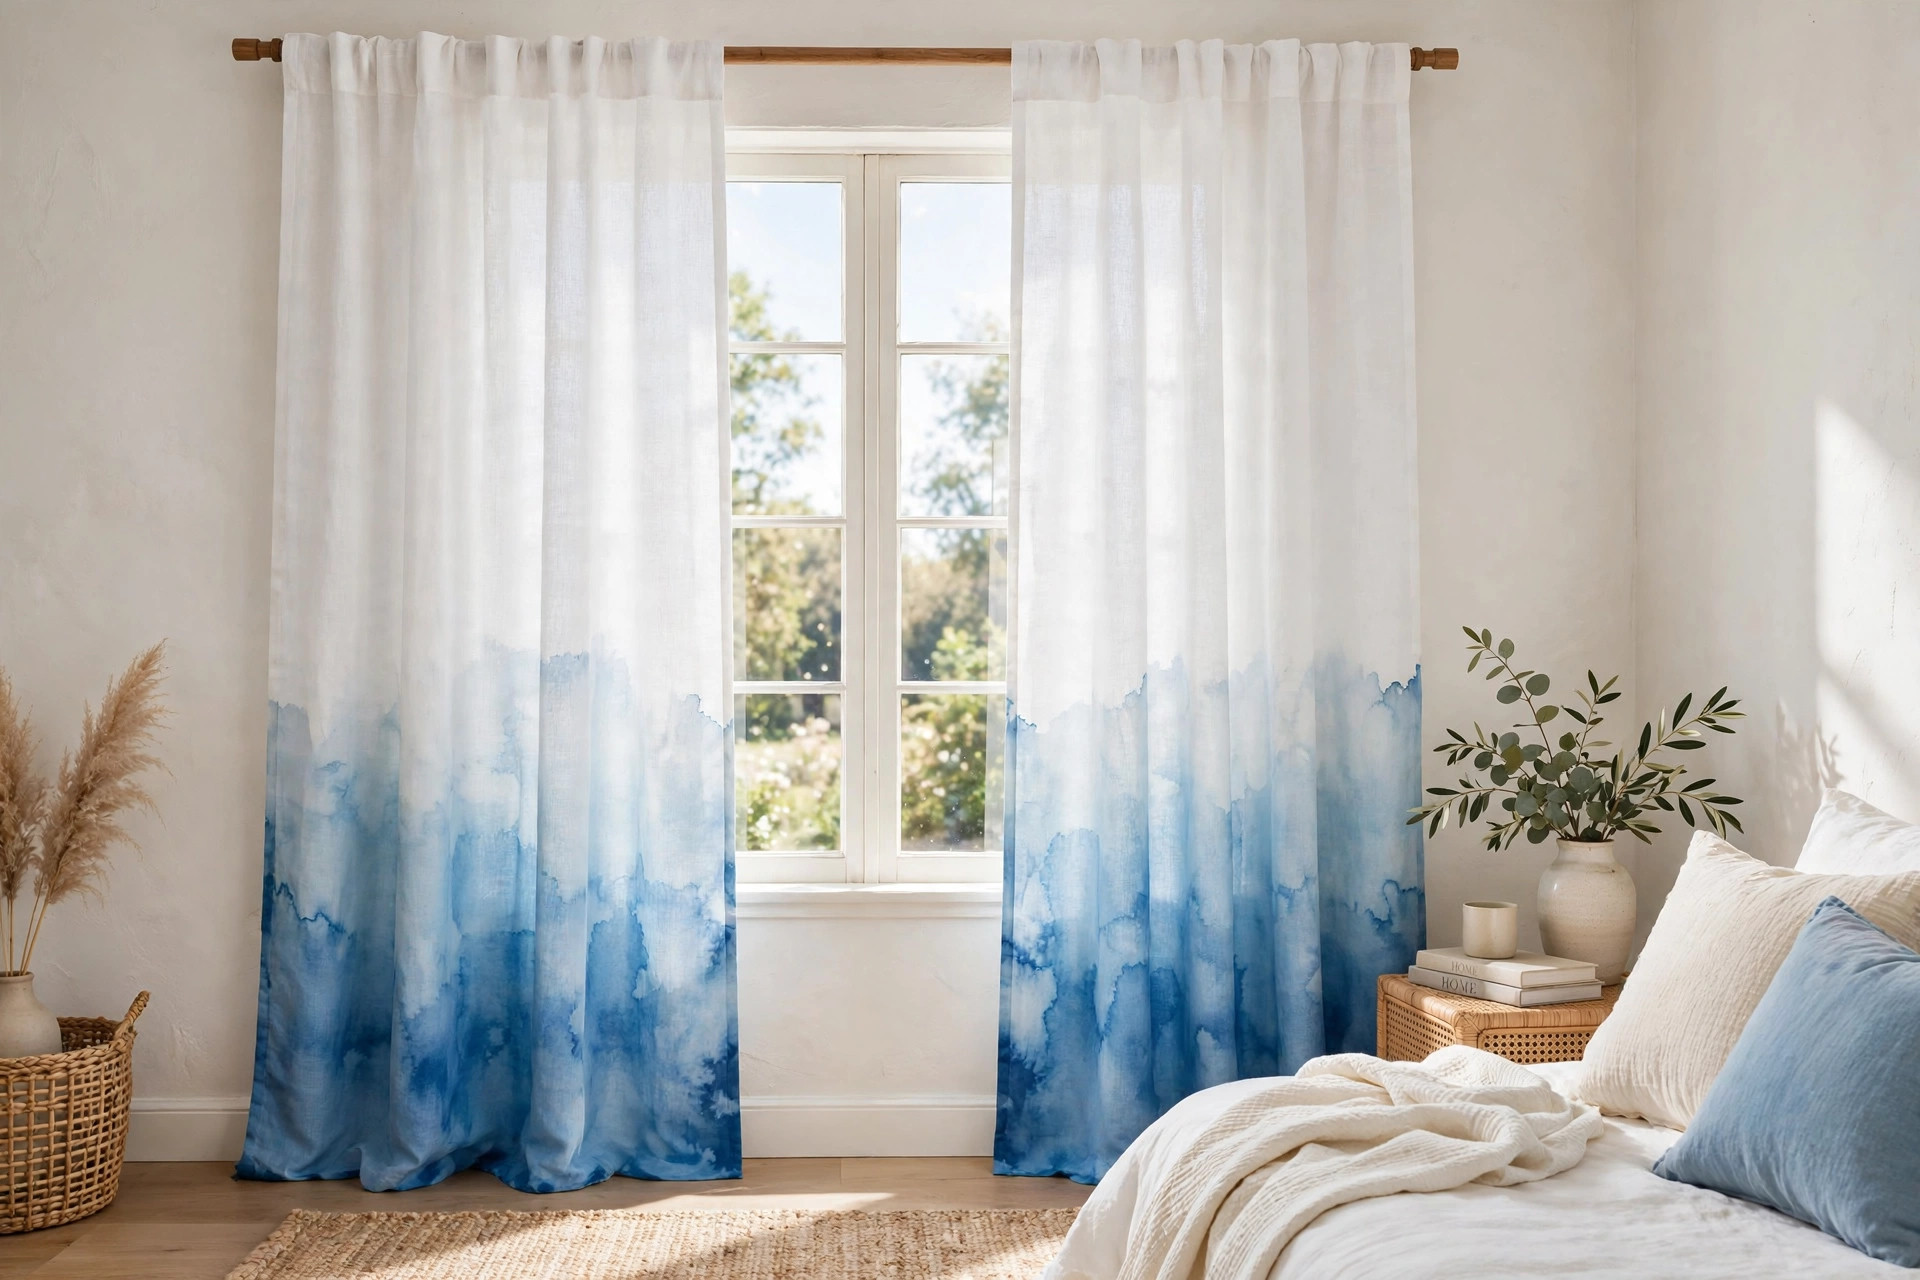
8. Dip-Dyed Curtain Panels
Plain white curtain panels get a custom designer treatment with a simple dip-dye technique. Fill a bucket with warm water and fabric dye, then dip the bottom third of each panel into the bath for a few minutes. Let the panels hang to dry, and the dye will create a soft, watercolor gradient. They look like they came from a boutique — for the price of a dye packet.
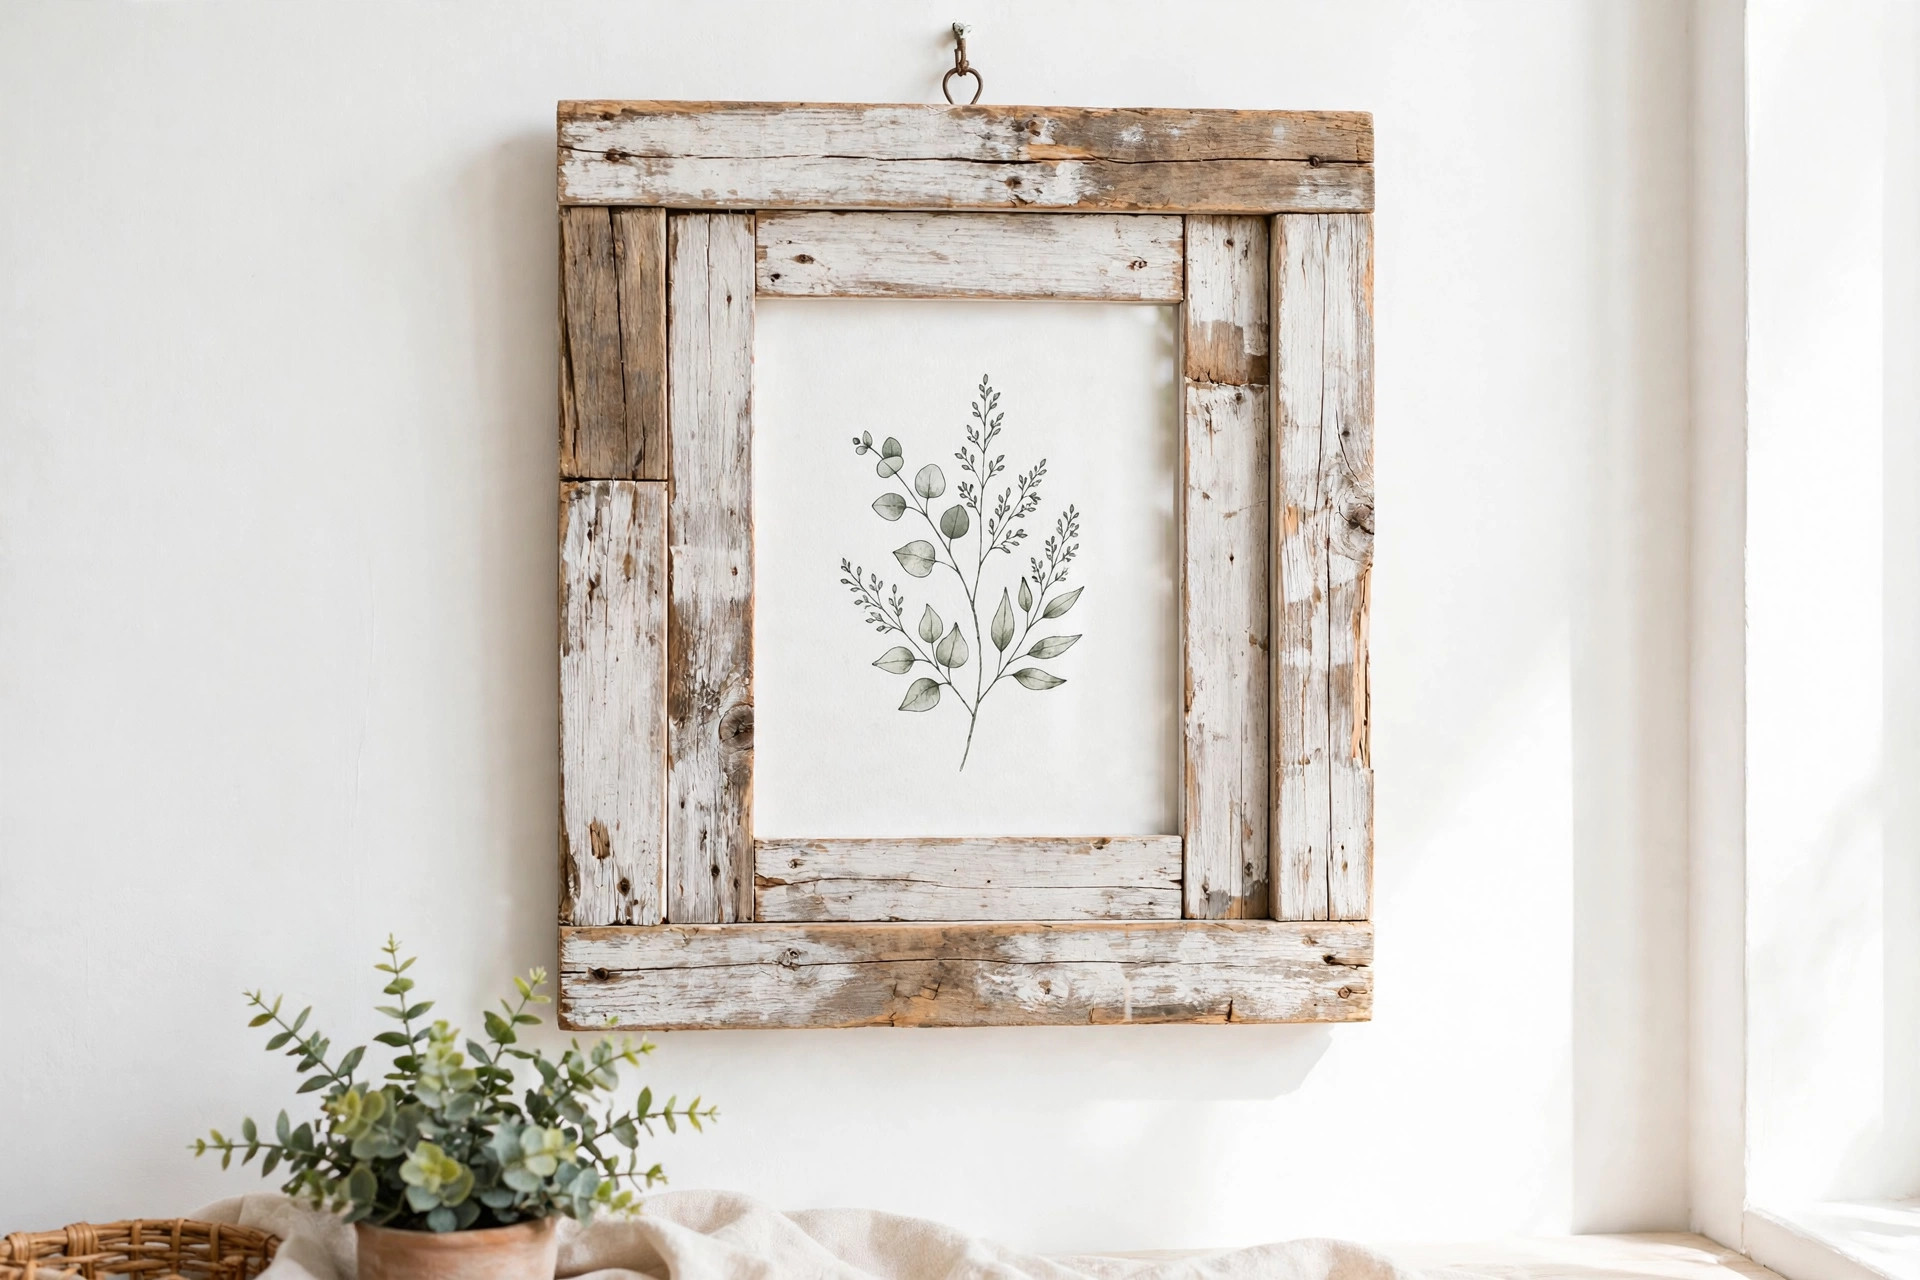
9. Rustic Pallet Picture Frame
A small piece of reclaimed pallet wood makes a wonderfully textured frame for photos or quotes. Sand the wood smooth, nail or glue four thin strips into a rectangle around your picture, and add a sawtooth hanger on the back. Stain it dark for drama or whitewash it for a beachy vibe. It’s a quick project with a big visual payoff.
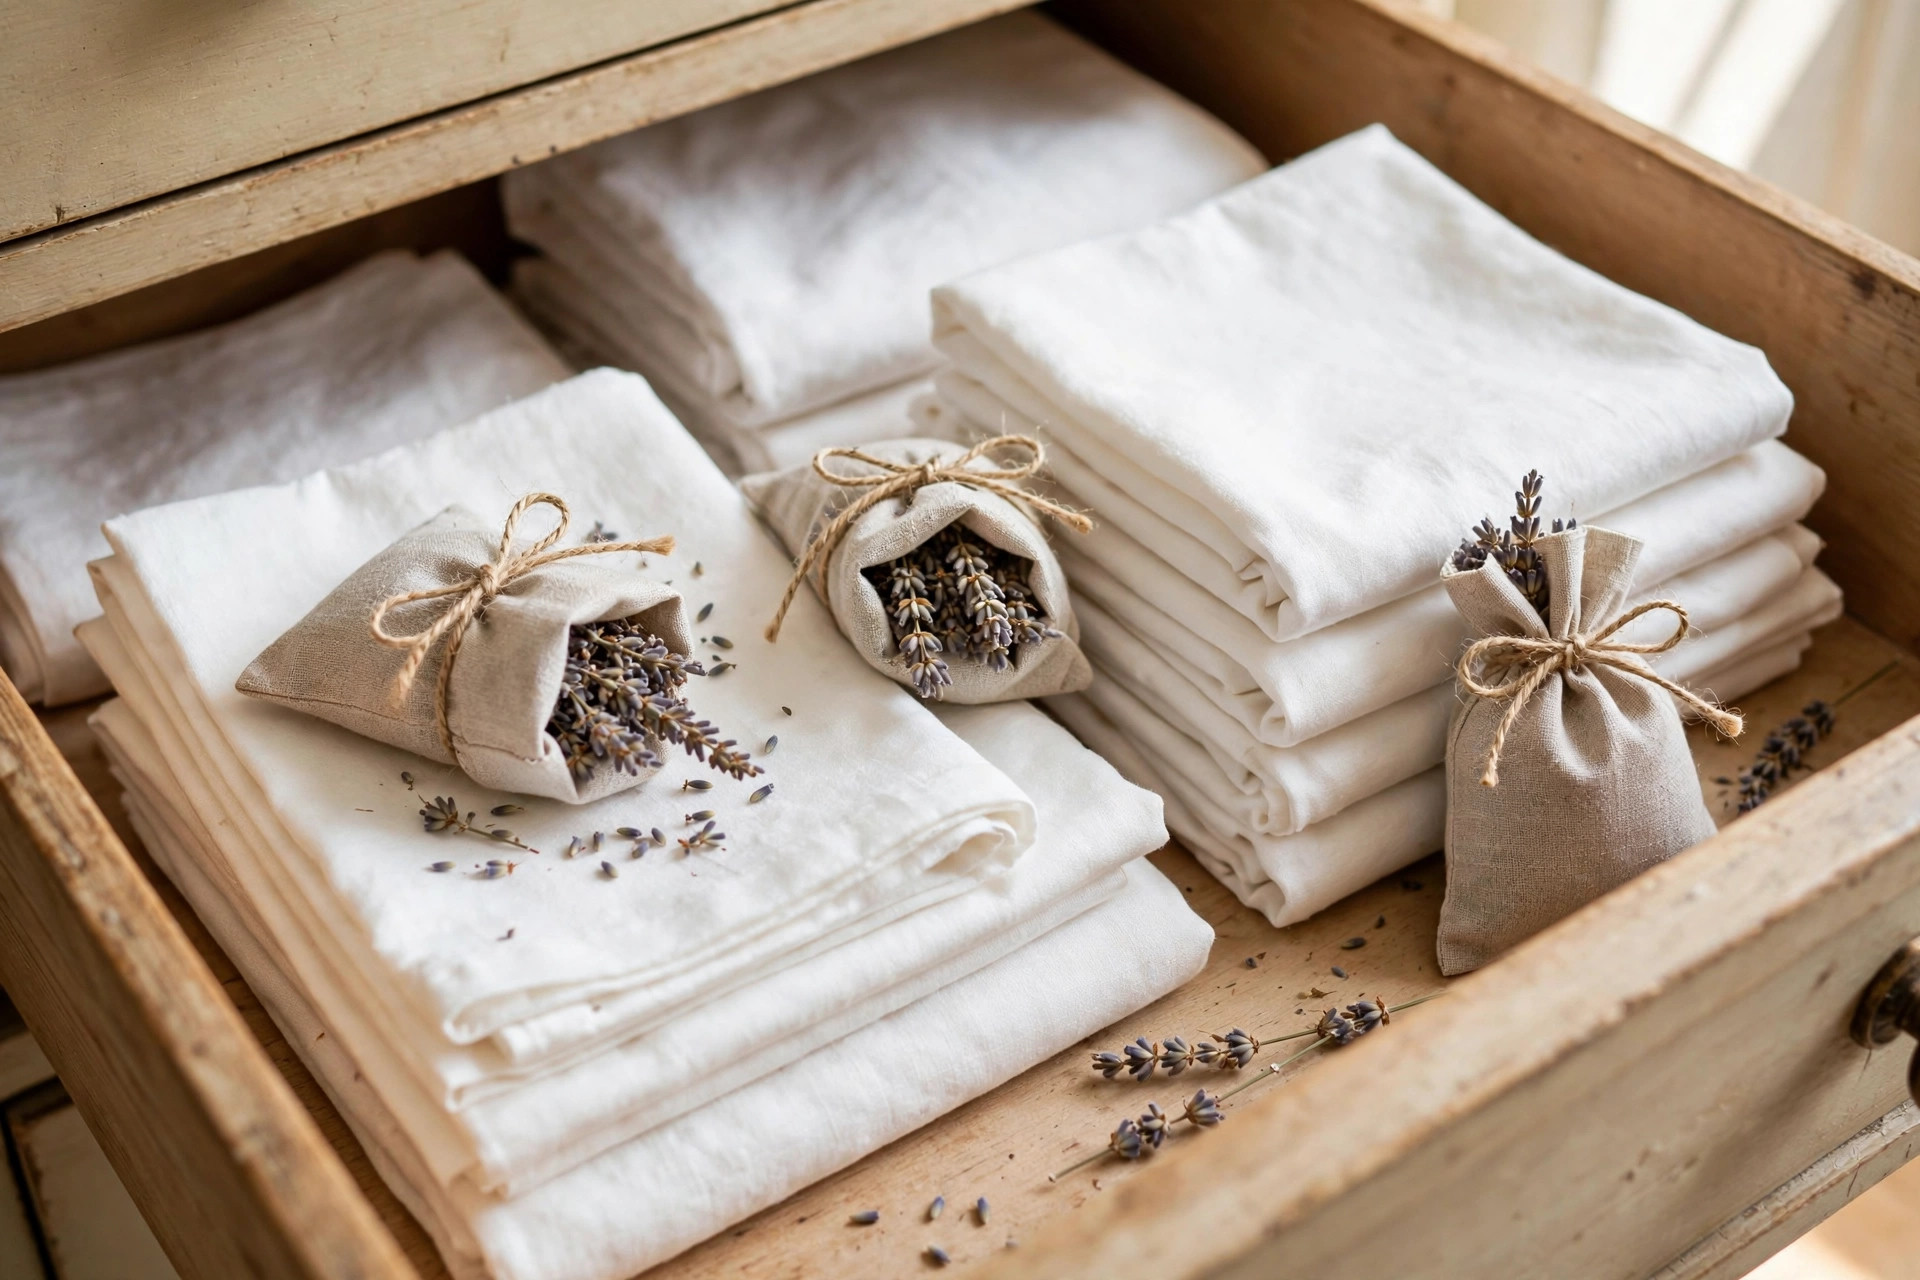
10. Lavender Sachet Drawer Fresheners
Sewing these tiny pouches is the perfect first stitching project. Cut two small fabric squares, sew around three sides, fill with dried lavender buds, and stitch the opening closed. Tuck them into dresser drawers, linen closets, or suitcases for a fresh, calming scent. They also make thoughtful handmade gifts, and refilling them with fresh lavender each season keeps the fragrance going.
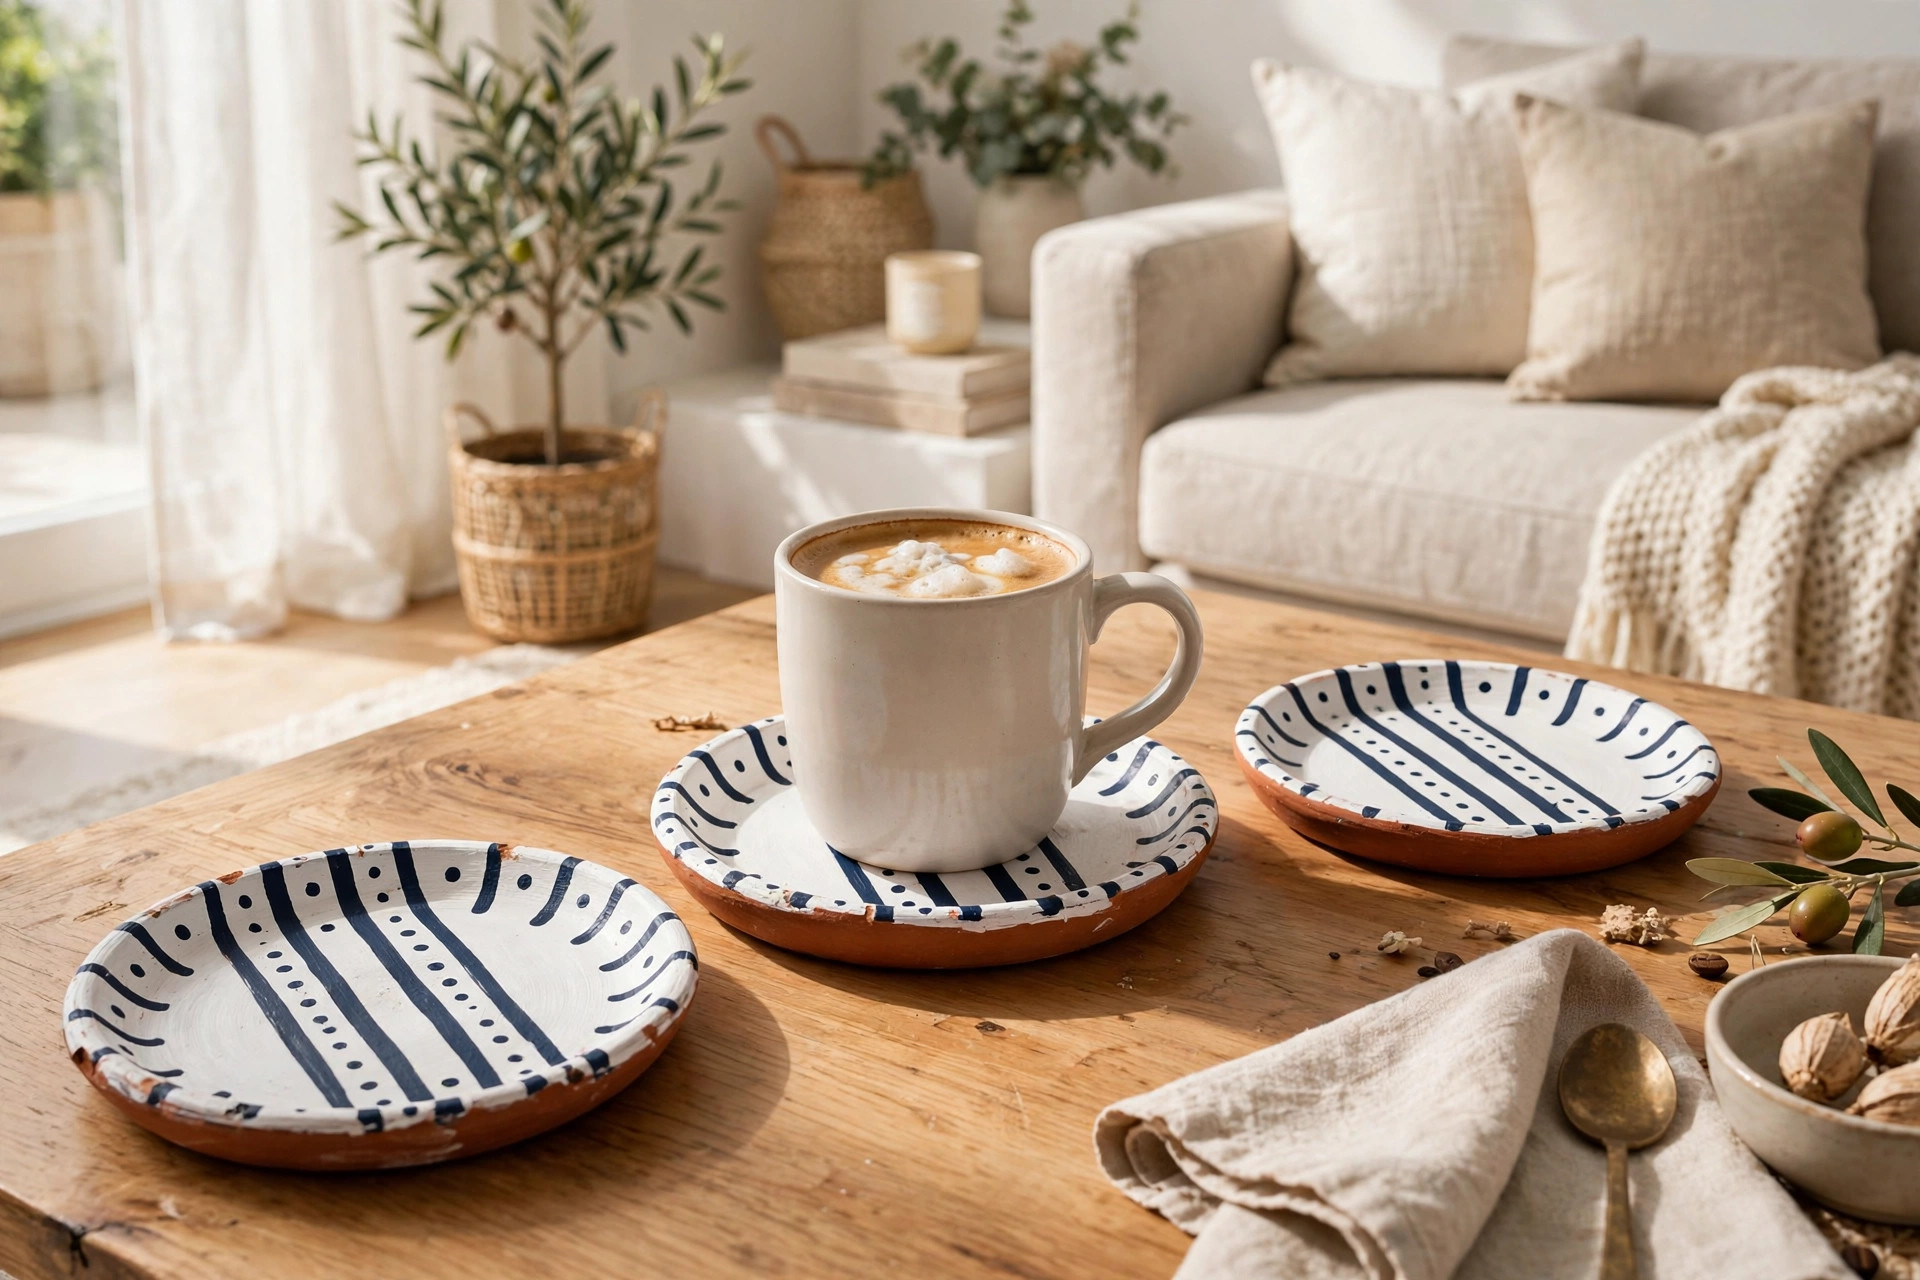
11. Painted Terra Cotta Plant Saucers as Coasters
Flip plain terra cotta saucers into stylish coasters with a little paint and sealer. Paint the saucers in solid colors or simple patterns like stripes and dots, then let them cure overnight. Finish with a coat of clear waterproof sealer so they survive sweaty glasses. It’s an easy project that adds handmade personality to a coffee table.
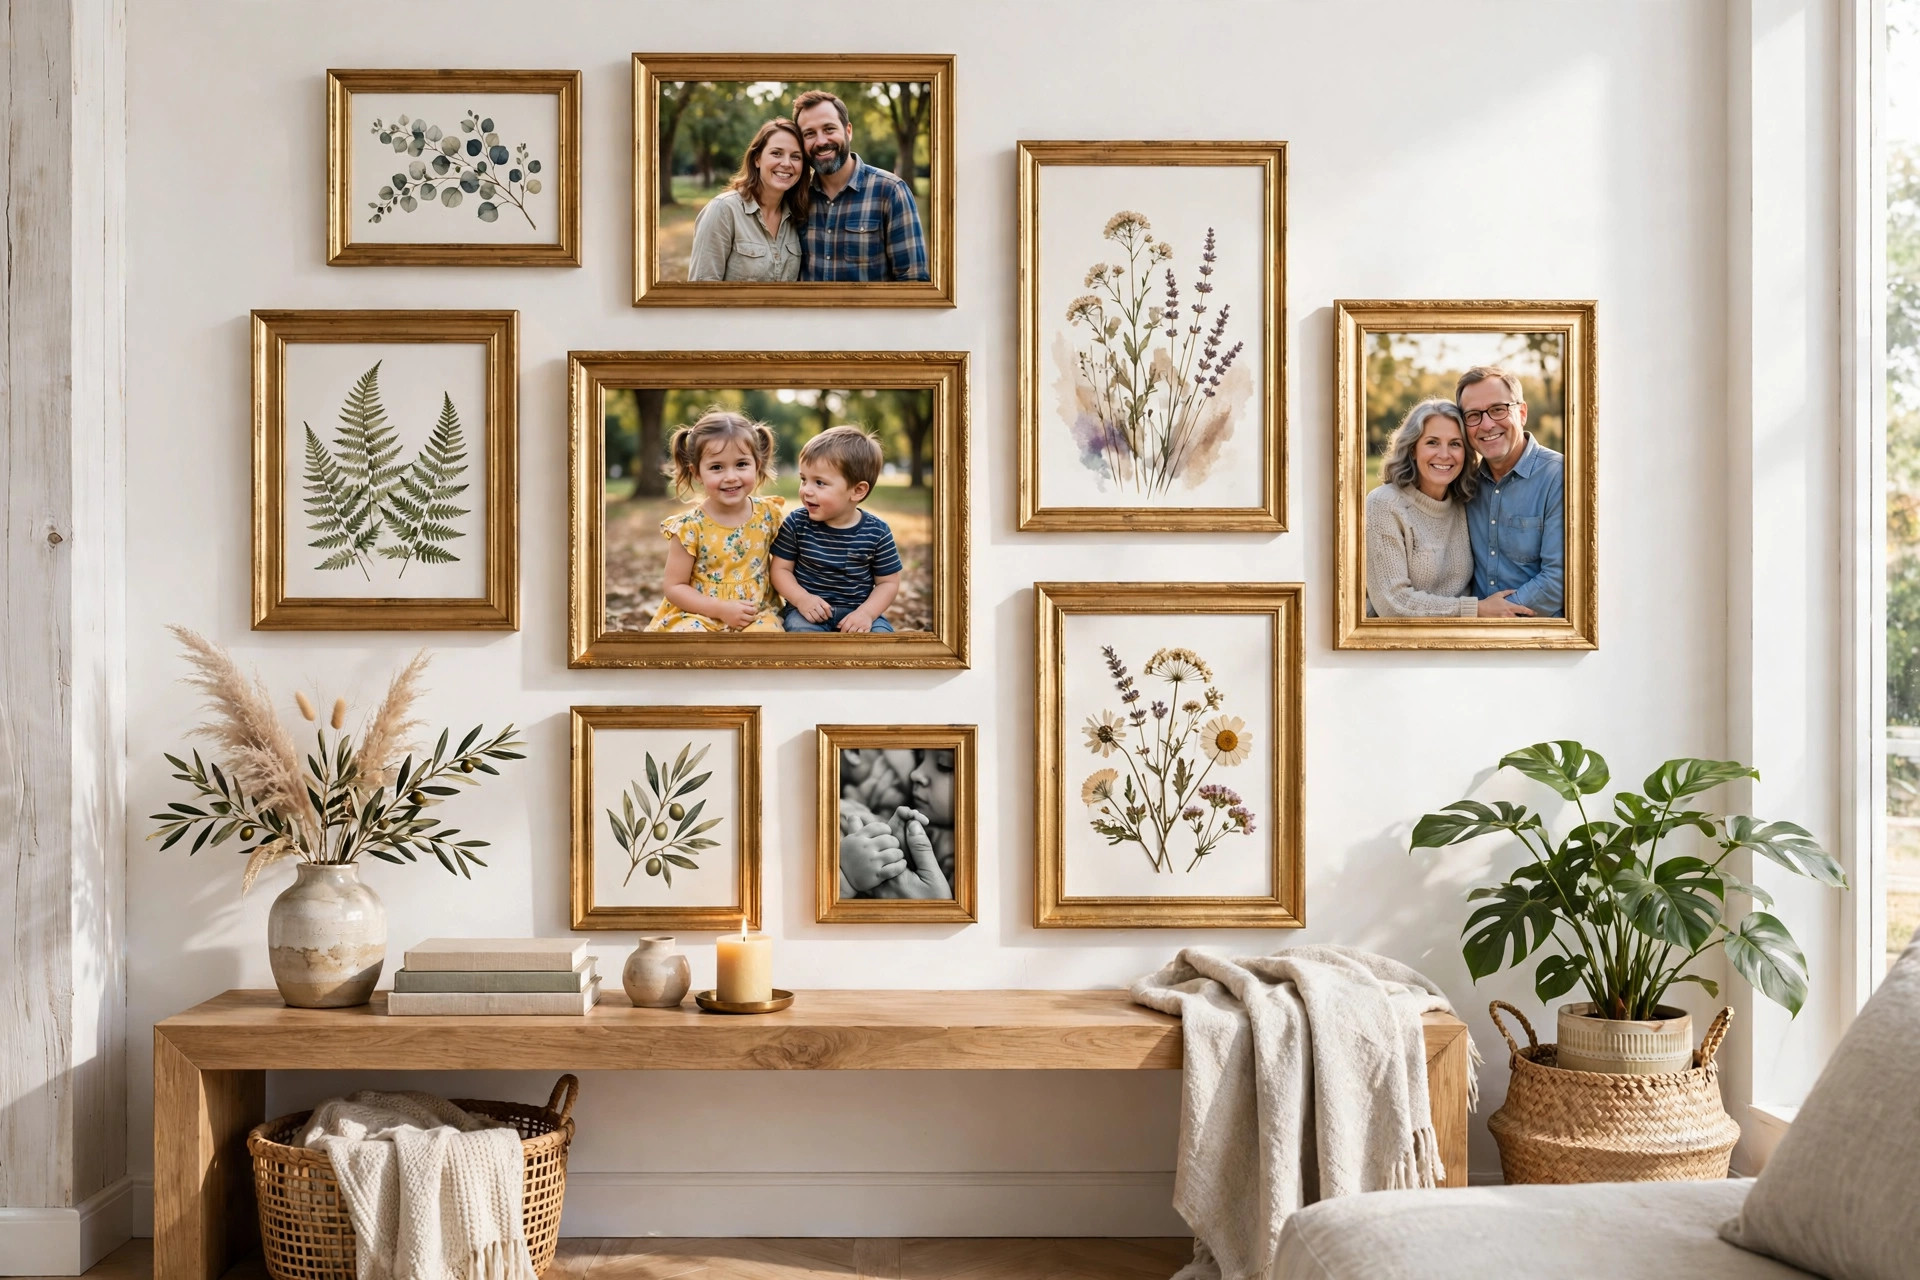
12. Gallery Wall with Thrifted Frames
Hit a thrift store for mismatched frames, then unify them with a single coat of spray paint in white, black, or gold. Arrange the frames on the floor first to plan a balanced layout before hanging. Mix family photos, printable art, and even blank mats for a curated look. One afternoon of thrifting and painting yields a gallery that looks professionally styled.
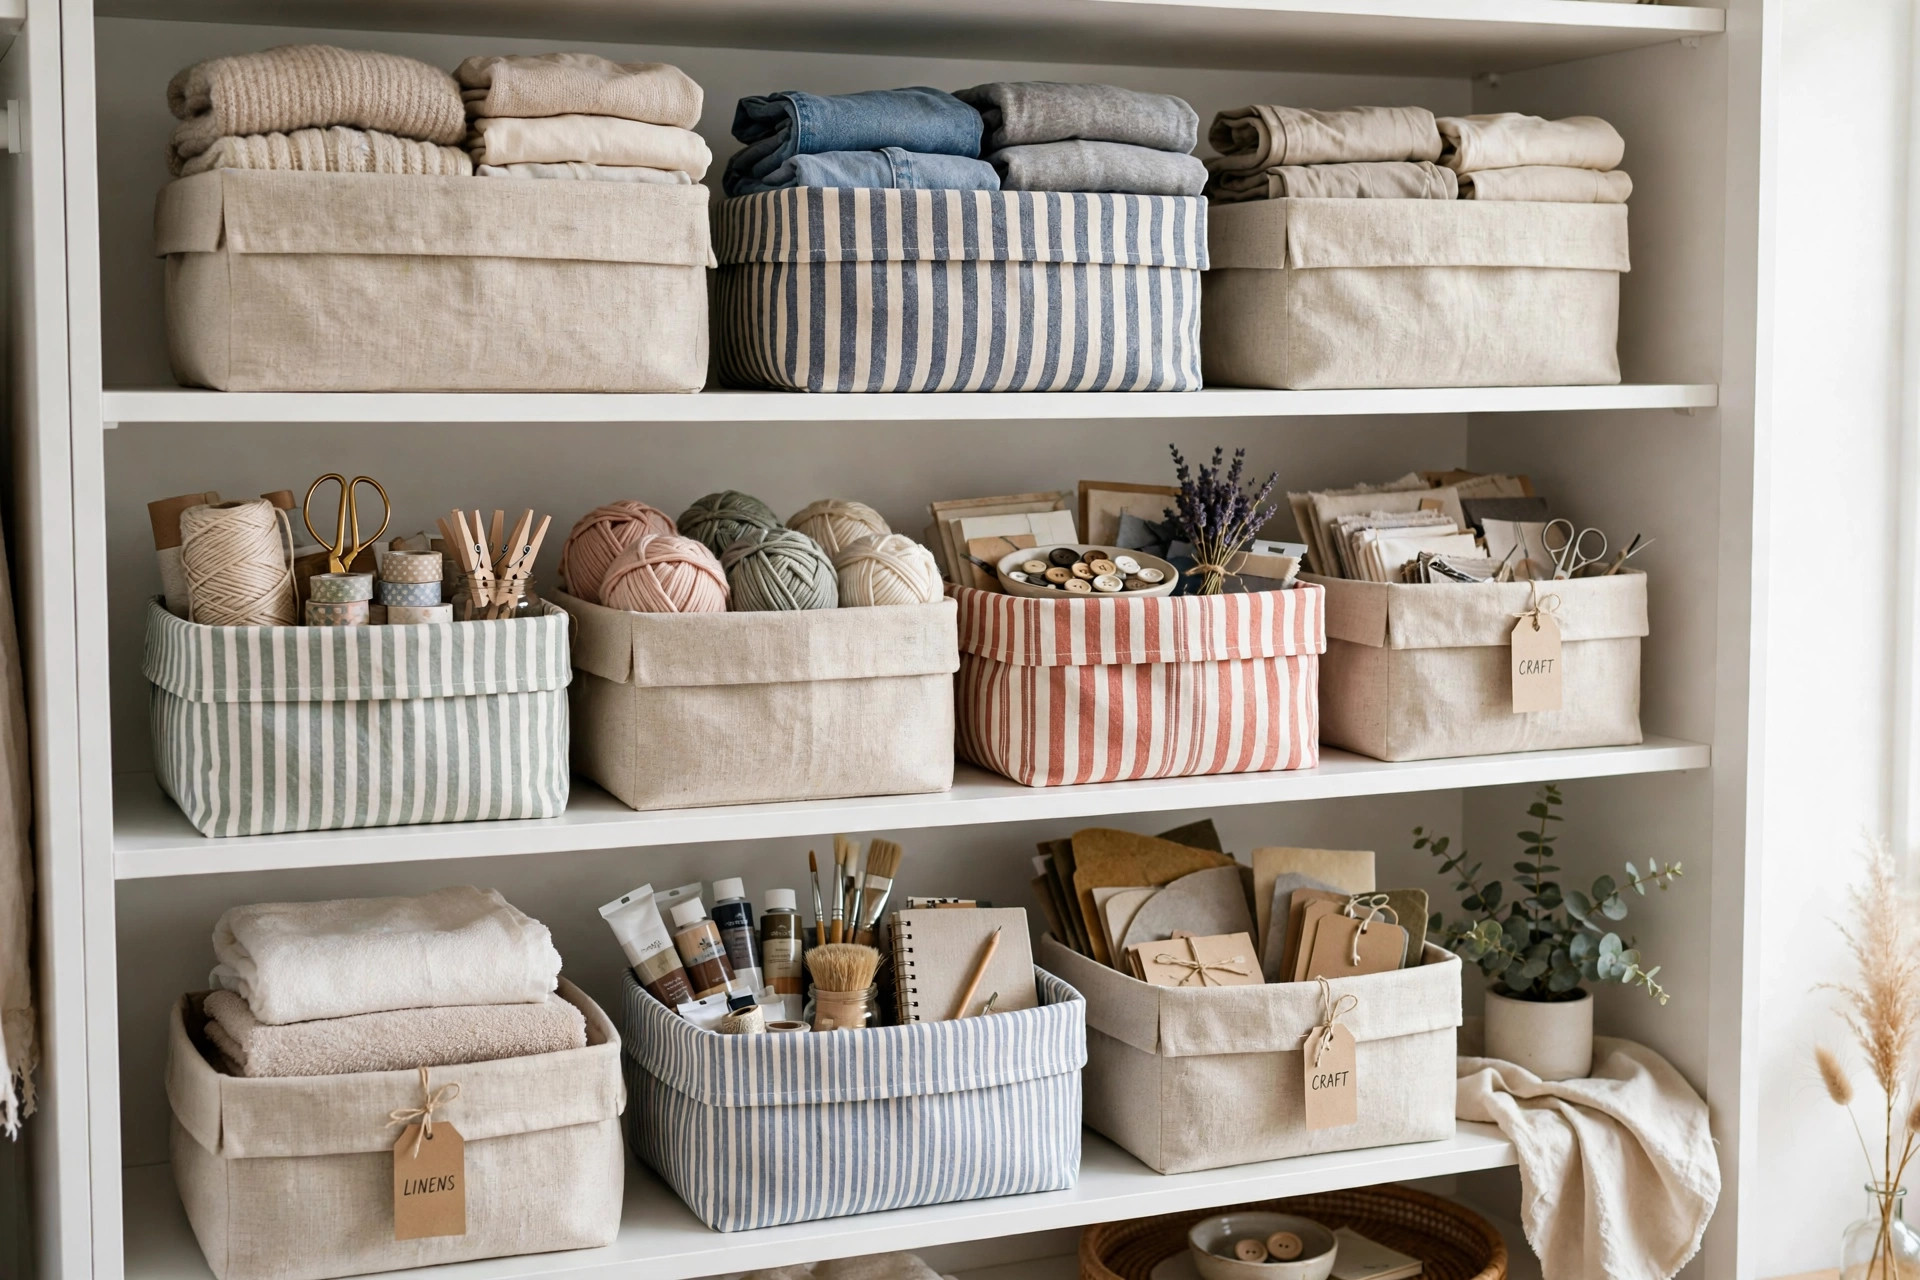
13. No-Sew Fabric Storage Bins
Fabric bins are simple to make without touching a sewing machine. Cut sturdy fabric into panels and attach them with fabric glue or iron-on hem tape, folding the top edge down for a finished rim. Insert a cardboard base cut to size for structure. Use the bins on shelves or in closets to corral toys, craft supplies, or linens.
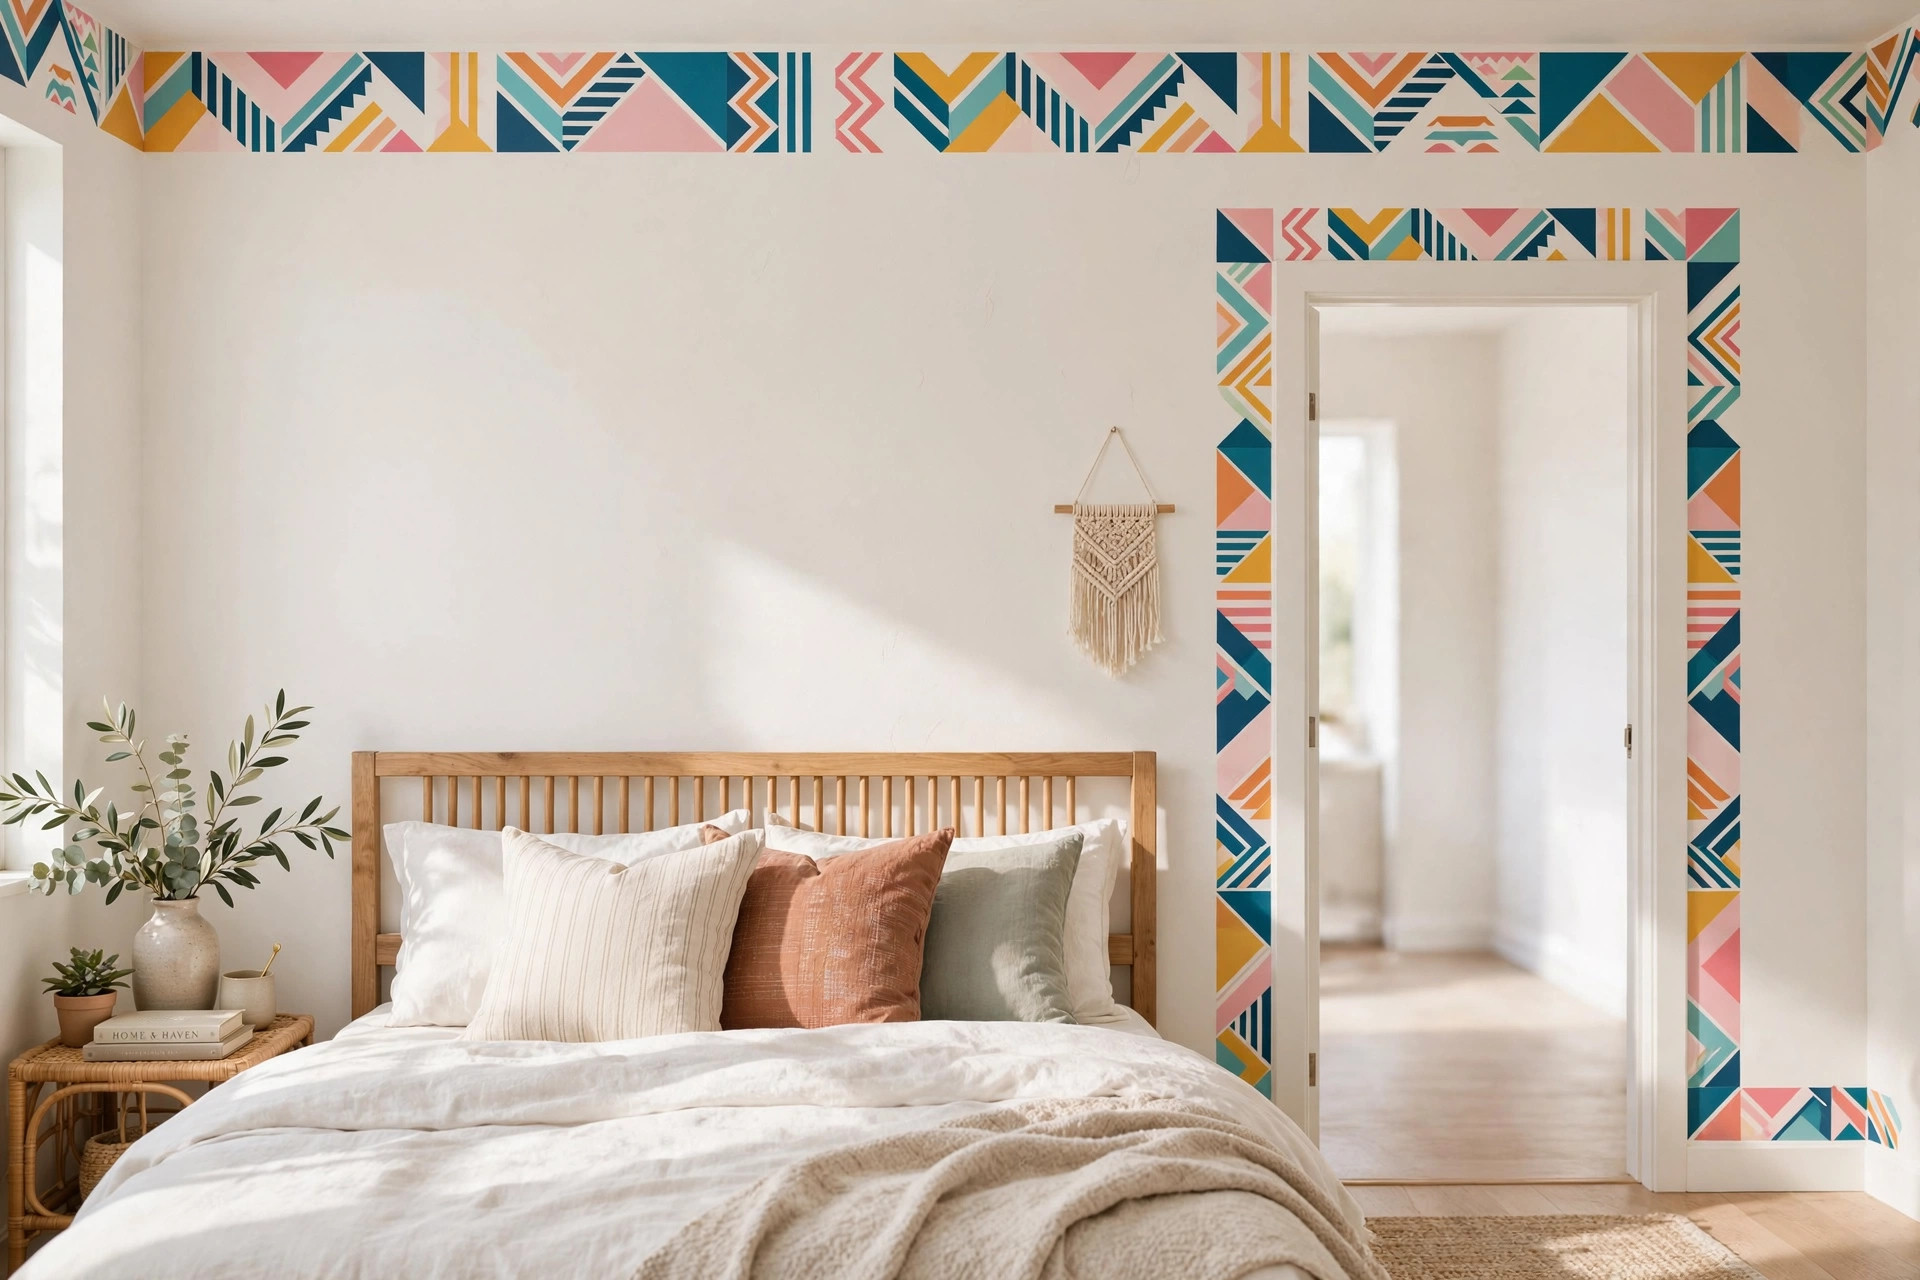
14. Washi Tape Accent Wall Border
Washi tape is a renter-friendly way to add pattern to a wall with zero damage. Choose a tape design you love and create a border along a ceiling line, a doorway, or behind a headboard. Measure carefully and smooth the tape down as you go to keep lines straight. Peel it off anytime you want a change — no paint, no holes, no commitment.
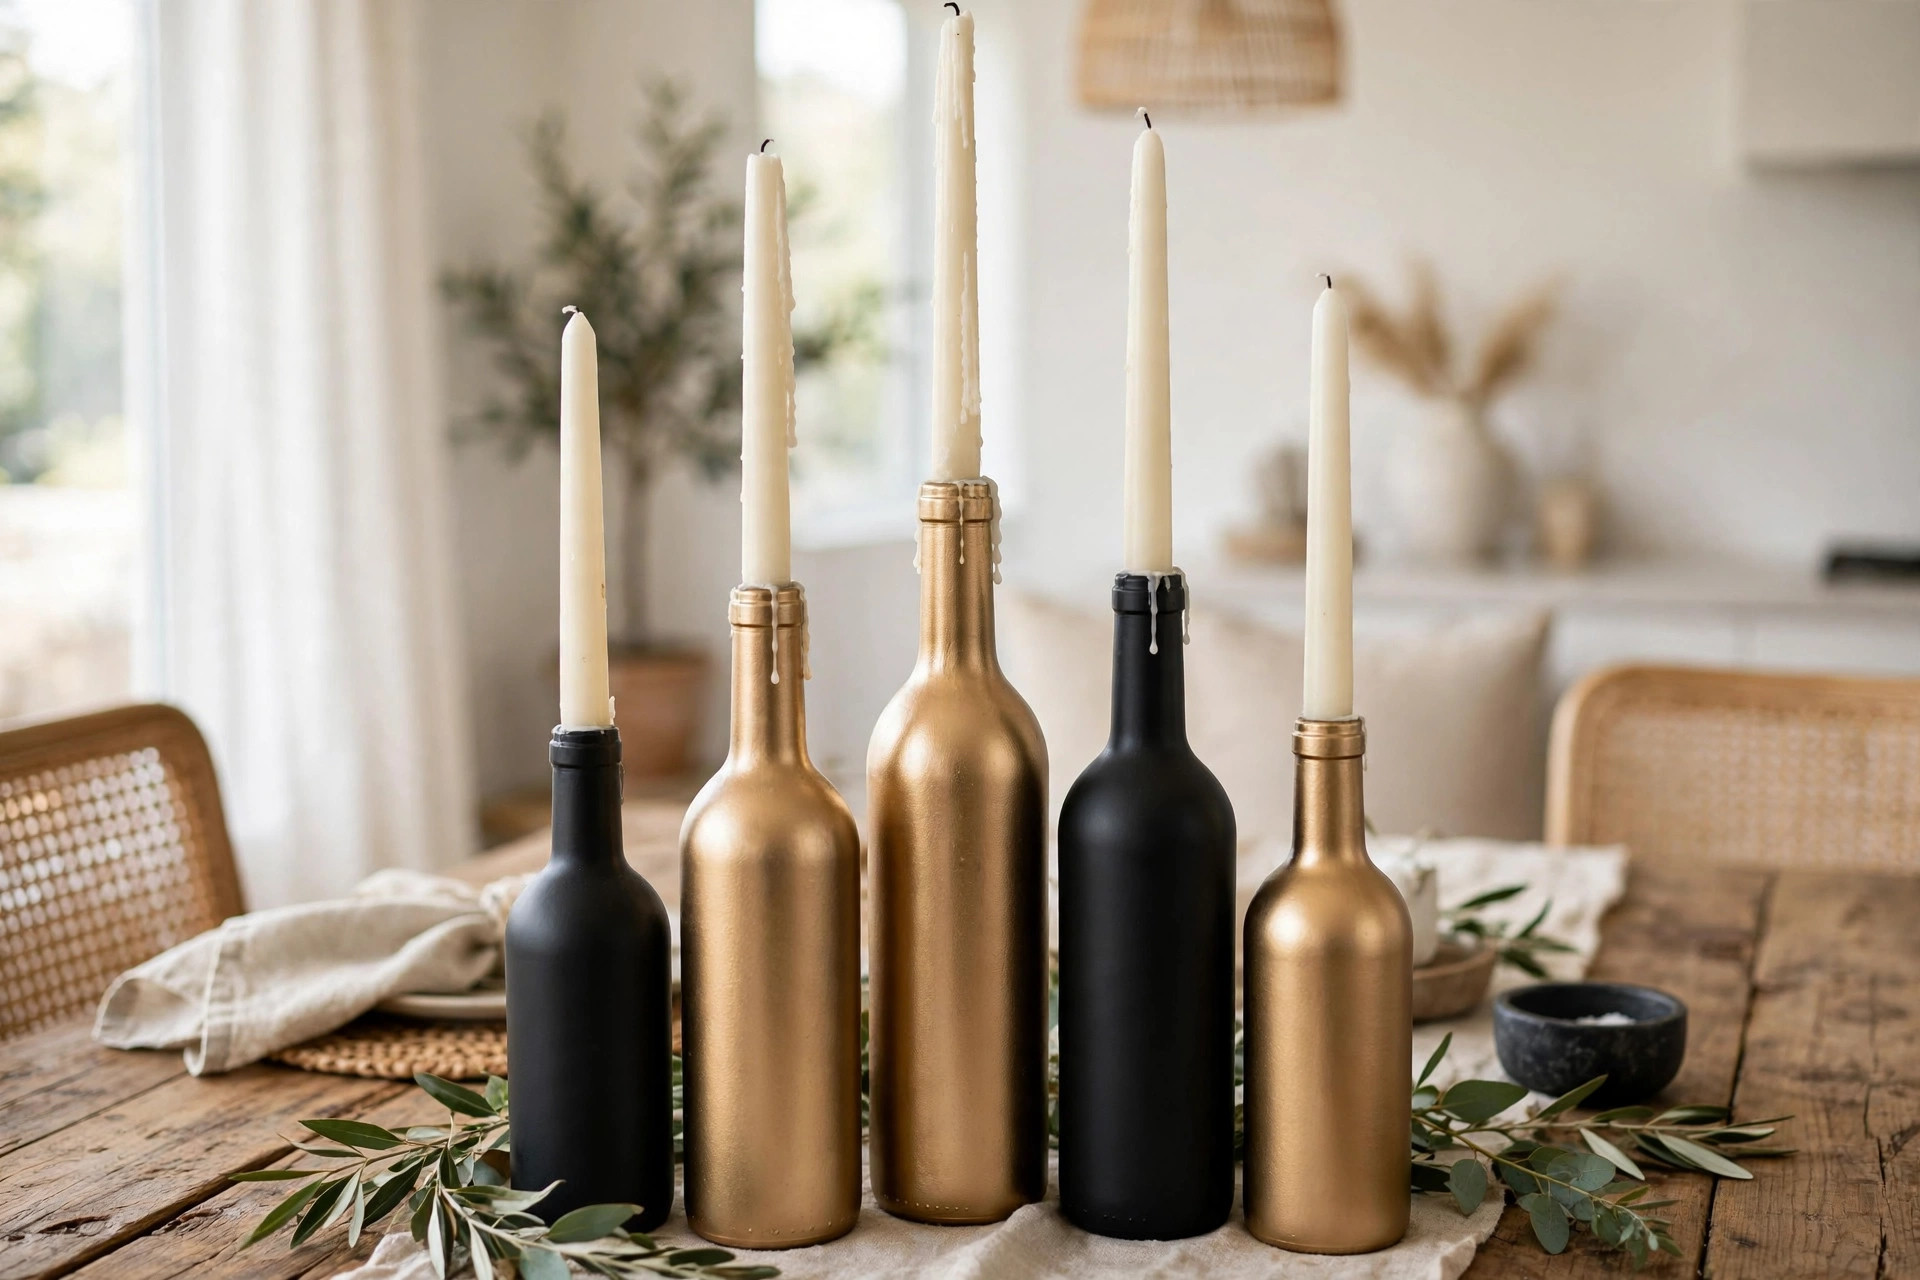
15. Upcycled Wine Bottle Centerpiece
Don’t toss those empty wine bottles — turn them into an elegant table centerpiece. Soak the bottles to remove labels, then spray paint them in metallic gold, matte black, or soft pastels. Group three to five bottles of varying heights in the center of a table and add tall taper candles or single stems. It looks expensive but costs next to nothing.
You made it through all fifteen — and every single one of these projects proves that beautiful decor doesn’t require expertise or a big spend. Pick the one that excites you most, gather your supplies this weekend, and enjoy the process of making something with your own hands. Your home will feel more personal for it, and you’ll have the satisfaction of saying, “I made that.” Share your finished project photos to inspire other beginners! Show off your finished projects with our 15 small living room decor ideas that actually work, or make the bedroom cozier with these 15 cozy bedroom decor ideas on a budget.

2 Comments